7.29.2016

Lake Time


Summer...means I get to spend lots of time at the lake.  This summer, the first of my retirement summers, means I get to spend not just weekends at the lake, but entire weeks at a time!  Perfect!

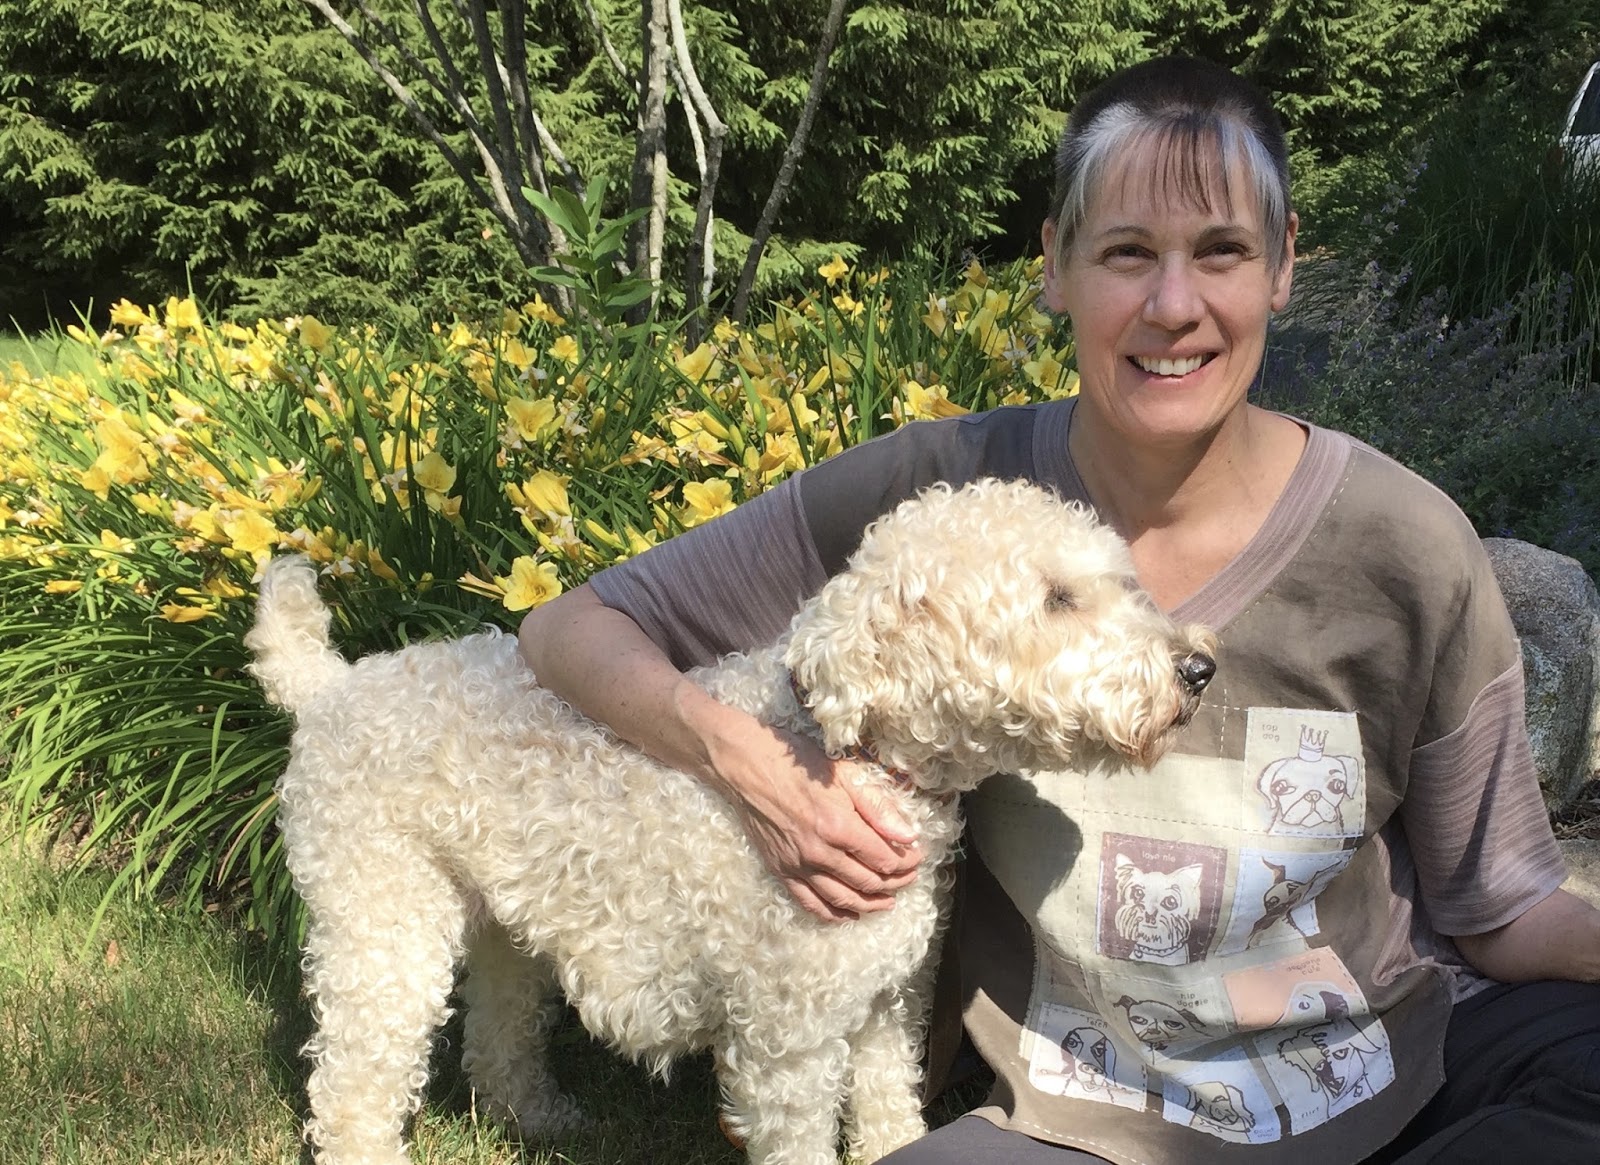
Since we built our house (see photo) I have imagined getting up on Monday morning at the lake.  When it actually happened this summer, I wasn't quite sure what to do at the lake on Mondays!  The weekend folks have all gone back to their weekly schedules, the boats are in their slips, the beach is deserted, it's peaceful and quiet...very, very quiet.  

When I was working full time even weekends were packed to the max with stuff to do...get all the fun jammed into Saturday and Sunday 'cuz it's back to work on Monday.  I am discovering the freedom I have to take things slower.  The option to 'lower the speed limit' on my life is an unexpected pleasure.  Unexpected because I always thought I liked being too busy.  The idea of slowing down on purpose is novel and welcome.

One of the big differences between my house 'in town' and my house 'at the lake' is the space and toys I have for sewing.  In town I have my 'schmancy' equipment...industrial iron, my 'home-made' ironing table (I love my ironing table! ironing table post ), a cutting table made for my 6 foot frame, my darling dress form, my 'inventory', sewing machine, serger, all collected over years of honing my 'tool kit.'...at the lake I have the basics, sewing machine, serger, ironing board, folding table....serviceable, but by no means 'schmancy.'  It has been just fine for the few weekend projects that I might tackle on a rainy Saturday.

Now that I am spending more of my time in 'making mode' I find that I am having to tailor my lake projects to the equipment to keep them from being exercises in frustration.  (e.g. I know I have the perfect piece of linen that would be just right.... at the other house!)  OK, I know, tough problem...get over it...I do realize how lucky I am!  

I choose draping projects in town vs. using patterns at the lake.  I try to pack up entire projects to do at the lake rather than hunting through my studio as inspiration hits.
"Plan as you go" in town vs. "Go with a plan" at the lake.

The pleasure of slowing things down translates to my creating as well.  "Slow Sew."  Handwork and knitting are not only slower, but easy to take to the beach!  (Stay tuned for some slow sew project posts.)

I'm 'learning' into this new way of working and being.  I still seem to fill up my schedule and keep myself busy, but the pace is more relaxed, with more time to savor the journey.  I think this is a good thing.

Mondays at the lake....

7.18.2016

Hale Yeah!

My Spring 2016 pile of possibilities included this wonderful silk panel print by designer Daniel Bohbot, the creator of the Hale Bob brand.

For a Hale Bob fabric it is quite tame.  Most of the line is very wild.  Lots of bright colors, large prints, big borders...very distinctive.  But I liked the softness of the gray and beige, definitely in my palette.

The piece was a purchase last spring and has been marinating since then.  It was the last piece and may have been a 'second' since the print is not actually centered on the fabric.  I guess I just like a challenge!

The piece is 52" wide and 42" long.  Not a lot of wiggle room!


Here are some examples of the kind of things that Hale Bob does with the prints.  The one on the left is actually my panel!  Obviously I couldn't get a long dress from a single panel, but I figured that I could get a tunic-y top thing if I really planned and cut carefully.

I started working on a top idea that had a round close fitting yoke with a gathered, peasant style body.  I fussed and tweaked and got something that I liked, and that fit, and that I knew I would NEVER wear!  I am broad across the shoulders and chest and emphasizing that area just doesn't work for me.  So back to the drawing board.


I knew I would have to be careful about where the print ended up.  I draped my dress form with several possible placement ideas...

The obvious "center placement"


...which put the beige medallions in a very awkward place on the back...NO!


Several other configurations....


Part of the difficulty was that I wanted sleeves, which meant very strategic cutting.
I settled on a version that put the main design near the neckline and allowed for sleeves to be cut with the boarder print at the hem.  


I was really nervous about cutting into the fabric, but I had a plan.  I cut the front and liked it, I laid out the back and was careful to match the border at the side seams...I cut them...and...

Oh yeah...I had lengthened the hem on the front and forgotten to do the same with the back pattern piece!!!!!  What do they say about 'the best laid plans.'?


I was actually surprisingly calm about the whole thing...I recut the neckline on the front and at the end of the day it was just right for the length of the finished tunic.  Sometimes we get lucky!

It also meant that I had a 'neckline' to play with and make samples of neckline finishes!  Bonus! 

...and here's what was left....

One of the tricks that I use when working with 'swishy,' 'squirmy' fabrics is something I picked up from a Sewing Workshop pattern years ago.  The pattern instructions suggested using 'tag board' to help press edges and hems.  It is really a great technique.  I made myself a template that I can use for all different hem widths.

Each side of the square tag board has two different widths...


I can fold the edge of the fabric to whatever line I need and press against the firm edge of the tag board for a really crisp fold.  Thank you Sewing Workshop for the great tip!

So here, after much fussing is my finished Hale Bob shirt.  It's a pretty simple style, but something I know I will wear. 


While I was trying out different possibilities, I liked the ones that had a cowl type drape at the neck.  I couldn't figure out how to get a true cowl neckline with my limited fabric, so I used a few of my scraps and added some extra fabrics to make this infinity scarf...I may not wear them together, but I like the scarf too!  Hale Bob...Hale Yeah!


7.12.2016

Dog Days of Summer

....So I was wondering...where does the phrase,


Dog Days of Summer

come from?  I have always figured it was the lazy, sultry, hot days that make you want to do nothing but sit in the shade and sip lemonade...but that doesn't really 'splain where the dogs come in...?

...So because it's 2016 and I have the technology, I asked Mr. Google.


This is Canis-Major...Orion's dog.  (I knew Orion had a belt, but never knew about his dog!)  The brightest star in the mid summer sky is Sirius, which happens to be in the constellation Canis Major!  Voila!  Dog Days!

Thanks Mr. Google.


(When you Google "Dog Days of Summer" lots of funny pictures pop up.)


As I was pondering I remembered a piece of fabric that I got a while back on Marcy Tilton's website.  I got it thinking it would work with a sweater that I wanted to 'refashion'....


Figuring out color from the internet is always tricky, in this case it was a 'miss' so I put the fabric away for another day.

I decided it would be a great starting point for my third go at an 'Artful T.'

I started rummaging..

brown silk dupioni
blue and natural striped linen
pale green linen
brown cotton jersey
and....I had plenty of choices!


The goofy dogs in one big piece of fabric were a bit overwhelming...I tried cutting them apart...and then started to drape them with some of my stash finds.


Gray lace over linen knit.............linen knit with linen stripe......brown linen with stripe knit

TOO MANY CHOICES!!!!

I finally landed on the brown linen with the light and dark brown knit and a Katherine Tilton pattern that I have wanted to try.  Vogue 8690


I used the linen for the front with my goofy dog squares and 'hand quilted' them down with embroidery floss.  The knit was a very stretchy poly/rayon blend that really worked well for the drapey back of the top.

The pattern is very oversized and I ended up cutting the front down by almost 4 inches and added some darts to pull the sides in for a bit more definition.  I think the woven linen had a little too much body for the silhouette.  

With a little re-jiggering I think it turned out quite well.  And I have plenty of dogs left for another day!


Now you might think that was the end of my "Dog Days of Summer" story, BUT...

I had spent the morning 'quilting' my little dog squares and had to put them aside for a meeting in the afternoon.  I was early for my meeting and stopped in a favorite thrift store on my way, just killing some time...I was just about to head out when a picture, propped up against the wall on the floor, caught my eye, WOW it sure looked familiar.


OMG!  It was one of the dogs on my fabric!  What the heck?  Of course I paid the $5!

I went home with images of Antiques Road Show spinning around in my head, maybe I had stumbled on a true treasure!  Once again, Mr. Google helped solve the mystery.


Well, I won't be selling my picture and buying a villa in Italy anytime soon, in fact I could have saved my $5 and gotten a new print of Peter Horjus' "Doggone Cute" for $6.99 on artforthemasses.com!  But buying a new print wouldn't be nearly as much fun as finding this one in the thrift store on the very same day that I was making the shirt!!!  What are the chances?


I'll be spending some 'dog days' this summer in my cool and comfy "Dog Days of Summer" Artful T # 3, 
and watching the night sky to see if I can pick out Sirius in Canis-Major.


7.01.2016

New Adentures


I am very excited for my friend Marie (center).  She is starting an amazing adventure!  She is off to Prague to teach english as a second language and fulfill a life long dream to travel.  We wished her Bon Voyage this weekend and are anxiously waiting to hear how her new life is taking shape.  She tried to take only one suitcase, but realized that she had to take a bit of fabric!  Every good adventure needs a 'bit of fabric!'

I wore my muu muu to the lovely party on the lake (which necessitated the large brimmed hat to prevent total sunburned scalp!  Ouch!).  As I said in my post about making this dress, I will make this pattern again!  It is a great blank canvas for playing and so comfortable and easy to wear.  I definitely needed a short version.


Once again I stated with a piece of upholstery fabric.  This time it was the left over scrap from making throw pillows for my couch.  I washed the cotton linen blend several times and it got soft and 'relaxed.'  


I love all the colors and textures...but of course had to add to it to get enough to make a dress.


I found several 'stash' items that would be great and collected a few others to make up the difference.  I kept trying different combinations but it was the addition of the golden brown linen with the oriental print that was the catalyst that finally got me going.  It had the right feel and the linen texture blended really nicely with my upholstery scrap.


I knew I needed to piece the fabrics to get enough for the dress so I started by making up the fabric.  With the large size of the prints it made it easier to match the patterns by piecing them before cutting out the dress pieces.

I had an idea for the pocket so I started with that...


I wanted to make a 3D pocket that was set into the bottom layer of the dress.  Even with lots of measuring and calculating I ended up making the pocket 3 times before I liked the finished product!


When I got to the neckline I knew I wanted something different than just a binding...after trying several options I settled on a bias tube with a drawstring to pull it into the neck.  The gathered draw sting pocket was the inspiration and I liked the way it adds some softness to the neckline.


The back is pulled in with a crisscross of twill tape sewn into the side seams.


After making the longer version I knew I would like the short one as well.  It is so comfy and cool!  Maybe I'll wear it when I visit Prague!  


My Oakleaf Hydrangea is going gang-busters this summer!