Showing posts with label Snapsource. Show all posts

4.01.2018

Stress Busting Shirtdress

Last week was very stressful.  Since retiring I haven't had a lot of 'very stressful' to contend with, so it really wiped me out!   As I have done all my life, I headed to my sewing room.  Sewing has always been my version of therapy.  A good project completely takes over my thoughts and pushes other stuff out of the way for a minute.  It's like a little vacation for my brain.  And last week I needed a really consuming project!!!!

I have been seeing shirt dresses and in particular, denim shirt dresses all over the place this spring.  They look cool (temperature and otherwise) and easy to wear and I want one!  I had hunted up a light weight very dark washed denim with a hint of stretch to make my version of a denim shirt dress.   I decided it would be the perfect 'therapy project' for last week.


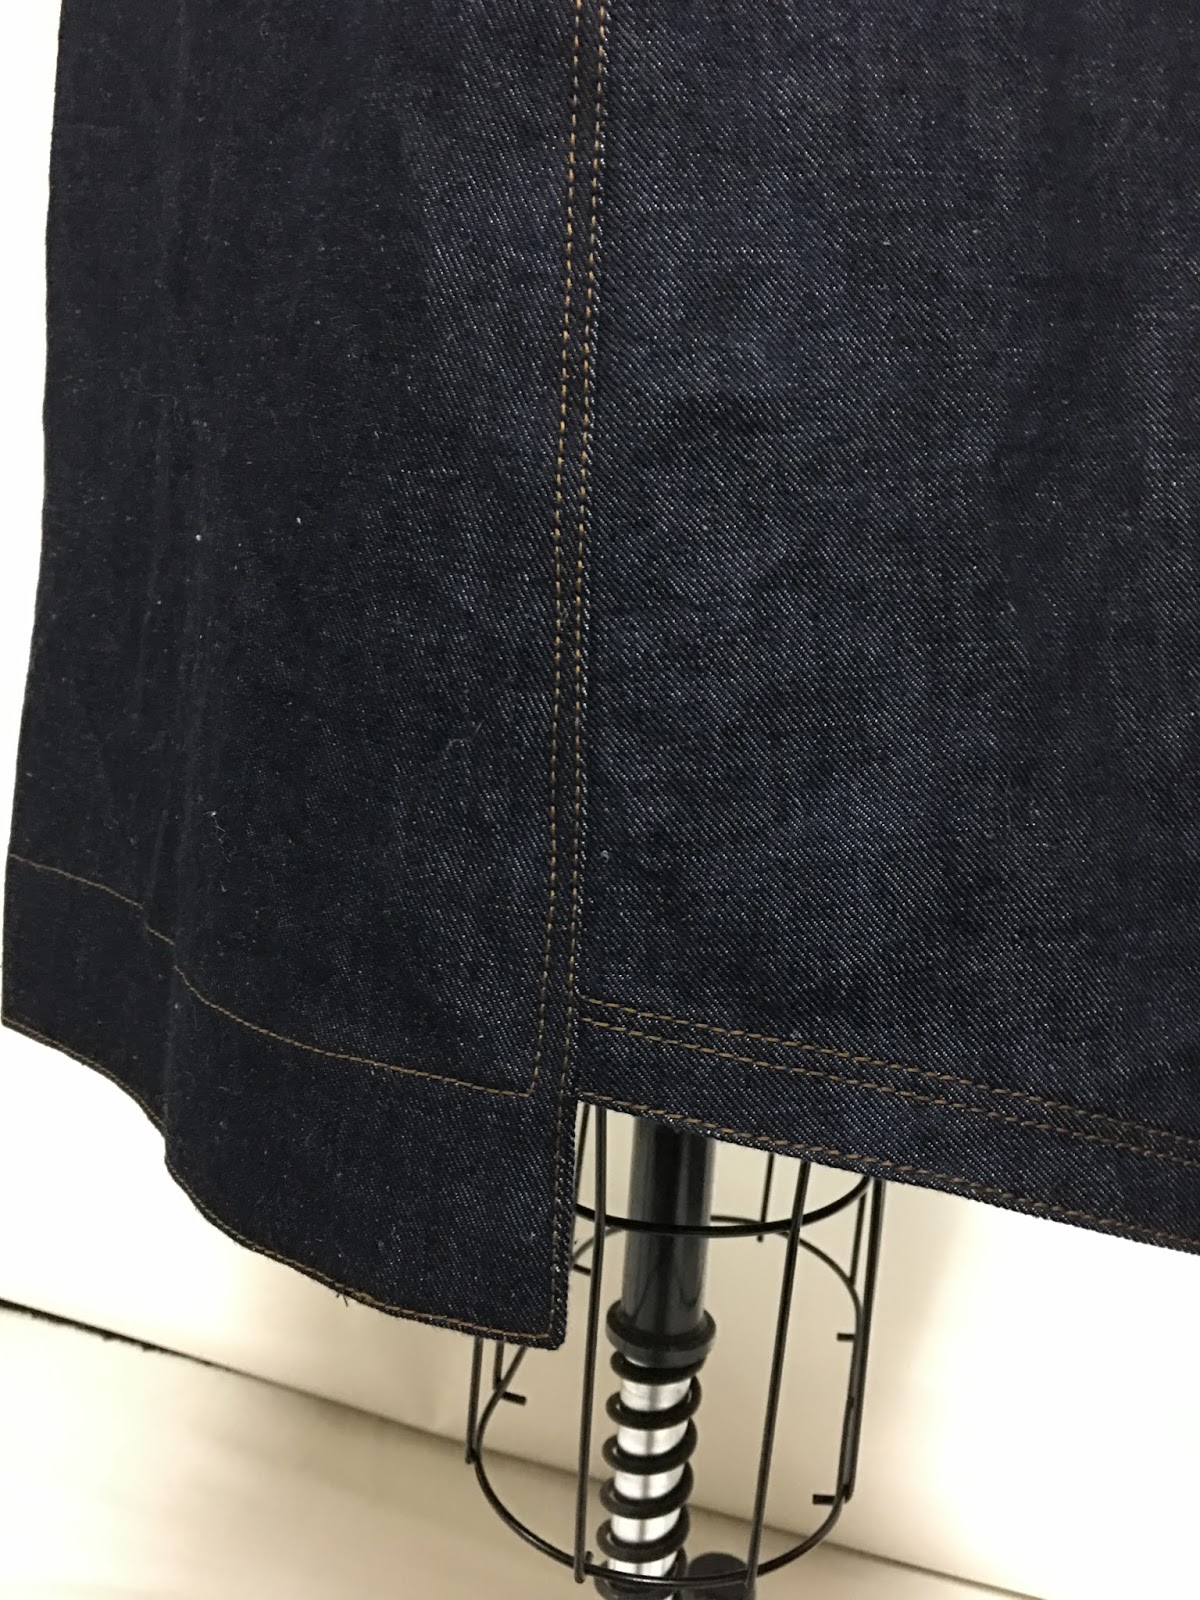
I knew I wanted lots of fun topstitching on the dress.  A bunch of precise topstitching seemed like just the ticket for distracting my monkey brain for awhile!  It requires full focus and engineering the order of seaming to get the right overlaps is a thought consuming puzzle.  Excellent!

I started with my current favorite vest pattern, see it here and here.  I like the shape and it works well with more structured fabrics.  I washed the heck out of the denim to soften it up a bit and to avoid turning my fingers blue as I worked with it.

I had been clipping pages from the gazillion catalogues that show up in my mailbox, of denim and shirt dresses as inspiration.  Plenty of decisions to keep me focused!

I decided:
  • sleeveless
  • back shoulder yoke with center pleat
  • waist seam on the front
  • side pockets
  • collar with collar band 
  • shirttail hem in front, straight in back
  • and snaps


There would be more deciding along the way, but these got me started.

When I got the side pockets sewn, with 3 rows of topstitching and was ready to sew the front skirt to the front bodice...I realized that the dress needed to come down in size by about 2 inches!!  Arg!  

Normally that would be a simple fix by taking bigger side seams.  I decided that taking out the pockets was NOT an option, so the front skirt got a nice little center pleat!  

I knew there would be more decisions along the way!


As predicted, the topstitching was excellent therapy and actually got a bit out of control!


I used a scrap of a Liberty of London fabric that my husband had gotten for me on a trip to the UK, for the inside back yoke.  The light cotton lawn kept the yoke from getting too heavy and added a little surprise on the inside.

I like to use double thread to add heft to topstitching.  I had almost two full spools of thread when I started which I thought would be plenty.  This is what I had left when I finished!  Whew!

The week didn't get noticeably less stressful, but the dress did the trick!  As I worked on it I felt the familiar sense of calm that sewing can give me and the sense of losing track of time.  I know some people go for a run, or eat a package of Oreos, or hit pillows with wiffle bats...for me it's getting lost in a place where I feel confident, and creative and safe.  AND...I get a new dress!  I'm looking forward to wearing it on a lovely, stress-free summer afternoon.  Ohmmmmmmmmmm..........


9.10.2017

Reversible Do-over

I made a vest last spring to take along on my trip to Wales.  I had made one in wool jersey that I took to Italy earlier in the year and really liked it.  It was comfortable, and added that extra layer of warmth that was just perfect for traveling in the changeable weather of March.  I knew that the weather in Wales would be VERY changeable, it always is, so I decided to make a spring/summer version of the same vest.  


Here is a very dark picture of the vest on an outing with friends in London.  It's difficult to see the colors, which is a good thing...I had made an orangey shirt to wear with the vest and it was really way too ORANGE for the muted colors of the silk broadcloth of the vest.  Trust me...it was not my best matching effort.  And to top it off, the shirt was not particularly comfortable.  It would ride up under the vest and bunch at my waist.  Again, it is a good thing that the photo (and the restaurant) did not have very good lighting!

I was, however, happy with the way the vest had turned out.  So I really wanted to have something that I could wear with it that was not too orange.

I have been carrying around a scrap of the silk vest fabric all summer!!!  It is an impossible color!   I am not sure that what I ended up making is the final solution, but it is much better than the first go 'round.

I will share the vest and the new shirt now, but time will tell if this will be a repeating post!


The fabric for the vest is some that I got while I was traveling in China.  It is a silk gingham, that has been over-dyed with mud so only one side of the fabric is really dyed.  I am not really sure how it works, but the end product is a lovely muted rosy-orangey color on one side and the other side looks as if there is a filter of black over the original check pattern.  It turns out to be a double faced fabric that makes it impossible to decide which side to use as the face side!  I stared at both sides and finally decided to 'not decide!'  I made the vest reversible!


Double sided fabric is really fun to work with, but requires a bit more head scratching than simply lining a garment to make it completely reversible.  

Seams and Edges...
All the seams are french seams.  This keeps one color on each side of the vest.  I finished the edges with bias that was stitched and turned like a narrow facing.  Again, keeping each side all the same color.  

Pockets...
There are two pockets on the vest, one breast pocket and one just below the waist.  On the dark side the pockets are cut on the bias and patched to the outside.  On the lighter side the opening is a welt-type pocket and the top stitching from the patch pocket forms the pocket on the opposite side.  Almost as difficult to describe as they were to engineer and put together!!!!  The facing of the waist pocket on the dark side is the only place where I used the contrast.  The light side is all the same side of the fabric.


I added a 'fake' pocket to the center back yoke for a bit of interest on the back of the vest.


Closings...
Earlier this year I had discover, purely by accident, that if you use snaps on a reversible garment, the closing ends up being right over left on both sides of the piece. (or left over right if you prefer!)  For this garment, I used two different colors of caps.  A tarnished silver for the dark side and a taupe/brown for the lighter side.  The spacing is also unique.  (no, I didn't mess up, I did it on purpose!)

You can see that the dying process makes the colors of the silk very muted and so a solid color tends to look too intense with the vest.  I really have not found anything that I am totally happy with, BUT I want to wear the vest!  I found a dark brown, almost black t-shirt weight knit in my stash(I think it is a cotton poly blend) that looked OK with both sides.  I didn't want to make a plain brown shirt.  It needed some other interest.


I ended up adding a couple of pieced stripes to the front of the shirt, using a small amount of the orange that I had used in the first shirt, a goldish color and a tiny black and white stripe.  Kind of an odd mixture, but I really like the way they work together and give a nod to the colors in the vest.


So, here's the second version of my reversible vest and shirt....


I am very happy with the way the stripe of the shirt peeks out at the neck of the vest.  And, yes, it was intentional!  When the vest is closed, it is the only bit of the other colors that shows.

I'll give this new shirt a test drive and see if I like it any better...and I will keep a look out for the 'perfect' fabric just in case there is a round 3.


4.19.2017

A Twofer Hoodie

  I really like the lines of Marcy's new hoodie pattern.  As she describes it... My new hoodie pattern keeps the functionality with a feminine dash of sophistication.  

I decided to give it a go!

I did have to make a few changes...
-I lengthened the sleeves, of course
-I dropped the waist so it lined up with mine
-Marcy had the pockets follow the line from the back waist seam around to the front, which is a nice design detail. But I found the opening a bit awkward to get my hand in comfortably, so I changed the angle of the opening to be more like a traditional hoodie pocket.
-I took a bit of fullness out of the lower back section


I made a few more changes when I selected the fabric that I wanted to use from my stash.  As usual, I was a bit shy of the required yardage. (go figure!)

-I shortened the hood just a tad to conserve yardage.
-I cut the sleeves in two pieces...the main sleeve with the grain going the 'right' direction, and a cuff with the grain going in the other direction.  Again, to conserve yardage.
-I cut all the seam allowances to 3/8 inch
-I made the front facings a bit narrower...and was able to get all the pieces I needed. Whew!


The fabric that I chose is a stable, wool jersey (think ponte in weight), that was a lighter taupe/gray on one side and a darker version of the same color on the reverse side.  I couldn't decide which one I liked better so I decided to make the hoodie completely reversible.  (Which of course would be a great thing to know BEFORE cutting out the pattern!!!!!)  

Most of the details worked just fine for a reversible jacket.  

I decided to finish the lighter side by opening and stitching down the seam allowances.  Since I had already cut them to 3/8" I had to be careful to keep the seam allowances straight, no trimming allowed!  I used a thread that matched the darker side so if my stitching was a bit crookity it wouldn't be obvious.  I used a zigzag stitch to sew down the seam allowances.  

To reduce bulk, I used raw edge construction with zigzag stitching on the pockets and facings.  Figuring out how to place the interfacing for the front edges was a bit of a challenge.  I pressed it onto the light side and folded it so the dark side formed the front facing.  The hems were done the same way.


I really don't like the "standard" reversible button and buttonhole configuration, with a button sewn right next to the buttonhole.  I find it clumsy and not very attractive, and difficult to use.

I decided that snaps would be a more aesthetic solution.  I use Snapsource snaps.  Not only are they a great product, they are made by an inventor right here in Michigan!  Snap!

Instead of using the plain silver ring on one side of the snaps, I used the decorative head on both sides. I didn't realize it until I tried the hoodie on, but doing the snaps this way means the closing is right over left on both sides!  Sweet!


 The pockets were probably the most challenging design detail of the project.  

I had cut the 'patch pocket' for the original pattern before I decide to go completely reversible.  I didn't have enough in the scrap pile to make a second set of patch pockets for the reverse side, so, I made the patch pocket an inch taller by adding a binding to finish the top and I made a large "bound buttonhole" that is just a bit lower than the top of the patch pocket so it doesn't show from the other side.  I do have to be careful to get my hand into the pocket and not drop my tissue through the other pocket opening!


It was quite an engineering challenge, but fun to figure how to make both sides of the hoodie work.  

No worries about what to do with the leftovers!

And, I still don't have a favorite side!