Showing posts with label Marcy Tilton. Show all posts

10.20.2021

An October "T"

 What an ammmmmazing fall we are having!!!!  I have said this before, but it bares repeating....I am a huge fall fan!  It is my favorite time of the year, especially here on the west coast of Michigan.  The orchards are full of apples, the wineries are busy putting up the next vintage, the days are warm and sunny and the nights are cool and perfect for sleeping.  Ahhhhhhhhhh!  This fall has been exceptionally warm.  I am trying to decide if this is always how it is here and I have just never been around for it, or if indeed it is actually warmer than usual.  I guess I will have to experience a few more falls to really figure it out.  Anyway, it is glorious!

I was thinking my October white shirt would be something wooly and cozy, but it has been very summery and a new white T-shirt seemed much more appropriate.  So out came the linen...again!  I also grabbed some of the lace that I did not use for my Isabel Marant project.  I am not sure when I will use it all up!

The shirt is really simple but figuring out how to insert the lace between the lower linen and the upper sheer linen was just enough of a challenge to keep it interesting.  I am pleased with the outcome and know it will be in heavy rotation until the cold weather finally settles in.


I also tried a new pattern from Merchant and Mills this month.  It's called The Ellsworth Shirt.  A sewing buddy and I made it together and it was such a fun day.  It ended up being a looong day, but there was a lot of chatting along the way.  We are going to have to call each other before showing up at the same party!


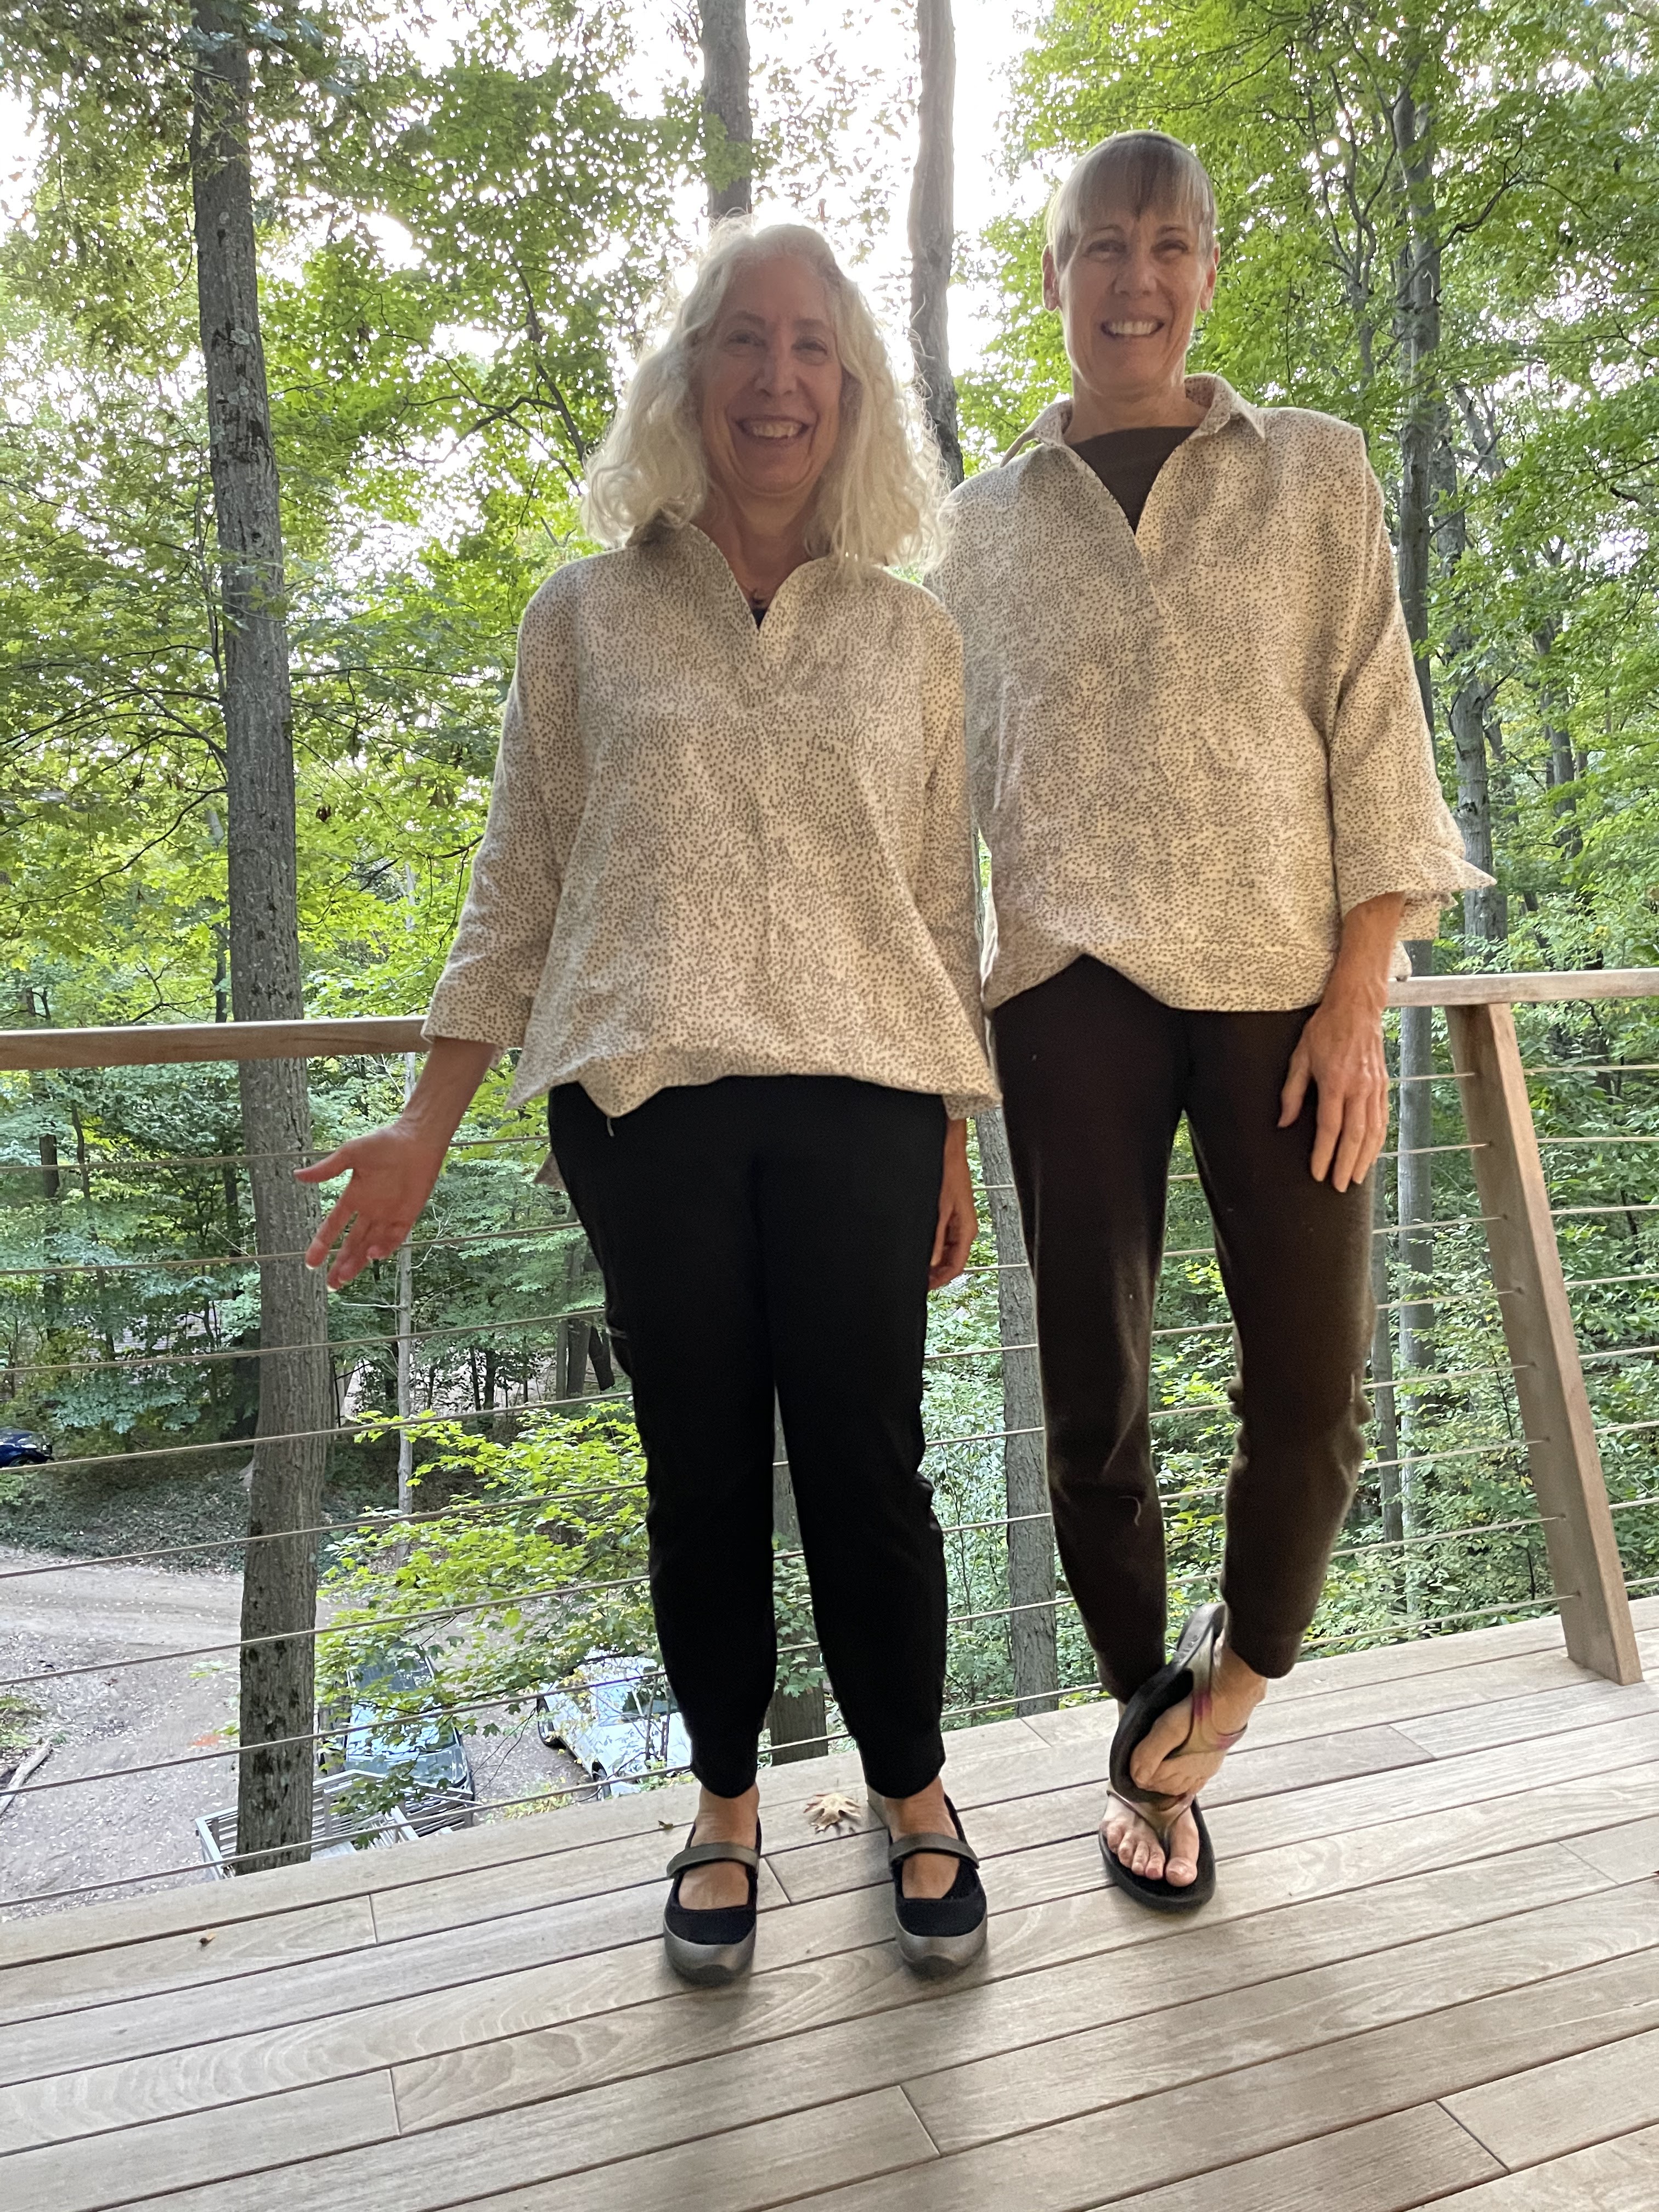
I liked the way the pattern came out so much that I immediately made another one.  I love the Japanese cotton I used from Marcy Tilton's website and I think it looks great in the pattern...but...it doesn't have the weight of the polk-a-dot linen so it doesn't hang quite as well.  The sleeve length is also and inch shorter which puts the sleeve placket right at my elbow.  I'm not quite sure how that happened because I cut it the same as the first one.  It might be that the linen is just enough stretchier that it hangs longer.  In any case I like that length better.   It is always interesting how much the fabric influences the outcome. You would think these two shirts would be pretty much identical, but I know I will reach for the first one more often.


The fabric for the second round was only 45" wide so I ended up putting a center back seam to get the pattern to work.  I also used a coordinating cotton to line the cuffs, collar, placket and hem facings.  I might have been able to squeak out a few of those pieces, but I thought it looked more "intentional" if I did all of them with the second fabric.  I like the way it turned out.  


As I finished my October white shirt I pulled out all the shirts for the months I have been in Michigan.  I have a couple others in Florida that will add to the total.  It was kind of amazing to see them all together and realize how different they are from each other.  It is getting harder and harder to pick a favorite.  When I picked this challenge for myself I thought I might end up with a couple of shirts that I liked and the rest would be fun exercises, but not necessarily wardrobe staples.  I think I was mistaken!  I love them all!  I will have to decide whether my November shirt will be a Michigan shirt or a Florida shirt, since we will be heading out around Thanksgiving time.  


6.04.2020

They Just Keep Coming

I may be sounding like a broken record, but I have another Merchant and Mills creation to share. 

Usually when I get home from a workshop I unpack and put everything away and promise to get back to it soon.  Of course, life happens and some time in the distant future I come across the samples or the half finished project and maybe I pick it up again.  It wasn't planned, duh, but as soon as I returned from my week in Rye we were asked to hunker down.  So, there I was with a pile of new patterns, a box full of luscious fabrics and all the time in world!  Shall we call it a bit of a silver lining?

It has been very nice to have the time to explore the Merchant and Mills portfolio.  I have been loving their design aesthetic and their silhouettes for awhile now and over the past several months I have tried several of the patterns.  Some I had already been working with and others were all new.  There was one jacket pattern that I wanted to give a try and decided to make it in something bright and springy. 

You may remember from the last post that I have been supporting our online fabric retailers...when I ordered the happy tropical print from Marcy Tilton's site, I just couldn't resist a piece of teal colored linen as well as a floral print rayon.  I wasn't sure from the website if they would actually go together, but when they arrived they were perfect.


Merchant and Mills Haremere Jacket here we go!

The pattern for the jacket I wanted to try is included in the "Workbook."  

There are a whole group of patterns that are part of the "All Season Wardrobe."  The pattern pieces are included along with wonderfully detailed instructions.  The Haremere is a jacket that gets its inspiration from menswear, but has some nicely done details that give it a softer, more feminine shape.  I was a bit nervous about the dropped shoulder since my shoulders are broad and I have learned that most patterns do not accommodate my generous shoulder proportions.  I did have to adjust the pattern, but ever so slightly, to get it to fit gracefully over my shoulders.  I was on a roll while I was working on it and completely forgot to take any in progress photos, so let's just say everything went swimmingly and here are some finished garment pics!

I had enough of the teal linen to make a pair of Closet Case Pietra Shorts (another pattern I have been wanting to try.)  Again, no progress shots....
And finally, I used a self drafted bias cut tank top for the rayon print.  

I am very pleased with all three pieces.  I may not wear them all together, but I think they will work with several other things I have in my closet.  Always a bonus!

It actually was raining when I took the pictures, the wellies and the umbrella are necessary, not just for the photos!


The inside has a lot of great tailoring details and I used a piece of tie silk for the lining and seam finishes.  The pattern does not call for Hong Kong seam finishing, but hey, when you have pink silk...


The shorts have great front pockets and the instructions for the elastic in the back waist are excellent.


I said I had enough for the shorts...let me correct that to, I had enough for the "outside" of the shorts!  I had to get a bit creative on the inside.


The seam across the bust of the top conceals a bust dart and the bias helps create enough stretch so that it fits close but doesn't need a zipper.  I  have a couple of these tops and love how easy they are to wear.


So far the Merchant and Mills patterns that I have tried have delivered.  It is so great when the idea in my head actually works out on the cutting table!  I still have a few more to try....


5.25.2020

The Adventures of an Online Fabric Shopper

The truth of the matter is that I would not actually need to shop for fabric ever again and I would still not be able to use up my stash in my lifetime.  But...hey...has that ever stopped me before?!  I have to admit that the virus lockdown has put a definite cramp in my usual fabric shopping style, but I have done my part to keep our online fabric establishments going.  The tricky part is not being able to fondle the fabric before plunking down for it.  Example:

I saw these floral print pants in the JJill catalog this spring.  At the time it was miserable and cold outside and they felt sooooo summery.  I thought I should make a pair!  If you have followed my sewing adventures for any amount of time, you probably realize that loud floral prints do not make their way into my stash very often.  (mud colored, monochromatic prints, yes, florals? not so much)  With this picture in mind I went out on the 'interweb' to find the fabric.

Image For Linen-Stretch Button-Hem Ankle Pants from JJill

Since I haven't done a lot of online fabric purchasing, I wasn't quite sure where to start, and once I started, finding places that would be able to send it before next spring was a bit tricky.  I have had some lovely pieces from Marcy Tilton in the past, so that's where I landed.  

I knew the fabric would need a bit of body to handle the style of the pants, but, without being able to touch the material it was really difficult to know.  I opted for a tropical-ish print in linen.  I figured linen might have the hand I was looking for.  The description also told me that this would be a nice fabric for pants...OK...send me 2 yards!


You can probably guess that when it arrived it was absolutely lovely...for palazzo pants, maybe...but definitely NOT for the style I was coveting in JJill.  It is linen, but it must have a touch of rayon as well because it is drapey and swishy and light and airy....nothing like I had in mind.  

I washed it and it got even more swishy!  Hmmmm, I folded it neatly and added it to the stash!

Fast forward a few weeks....

I came across this pattern....

I got it when it was first released ??? years ago.  I have looked at it any number of times but have never gotten around to making it up.  The idea of a 'french house dress' for hanging out at home sounded appropriate...AND, what do you know?  I just happened to have a really swishy linen and rayon print that would be perfect!  Voila!  Ici my french house dress!


At this point I think I will call it a win for the summer wardrobe and go ahead and order up the pants from JJill...if they haven't sold out already!!!😏

4.19.2017

A Twofer Hoodie

  I really like the lines of Marcy's new hoodie pattern.  As she describes it... My new hoodie pattern keeps the functionality with a feminine dash of sophistication.  

I decided to give it a go!

I did have to make a few changes...
-I lengthened the sleeves, of course
-I dropped the waist so it lined up with mine
-Marcy had the pockets follow the line from the back waist seam around to the front, which is a nice design detail. But I found the opening a bit awkward to get my hand in comfortably, so I changed the angle of the opening to be more like a traditional hoodie pocket.
-I took a bit of fullness out of the lower back section


I made a few more changes when I selected the fabric that I wanted to use from my stash.  As usual, I was a bit shy of the required yardage. (go figure!)

-I shortened the hood just a tad to conserve yardage.
-I cut the sleeves in two pieces...the main sleeve with the grain going the 'right' direction, and a cuff with the grain going in the other direction.  Again, to conserve yardage.
-I cut all the seam allowances to 3/8 inch
-I made the front facings a bit narrower...and was able to get all the pieces I needed. Whew!


The fabric that I chose is a stable, wool jersey (think ponte in weight), that was a lighter taupe/gray on one side and a darker version of the same color on the reverse side.  I couldn't decide which one I liked better so I decided to make the hoodie completely reversible.  (Which of course would be a great thing to know BEFORE cutting out the pattern!!!!!)  

Most of the details worked just fine for a reversible jacket.  

I decided to finish the lighter side by opening and stitching down the seam allowances.  Since I had already cut them to 3/8" I had to be careful to keep the seam allowances straight, no trimming allowed!  I used a thread that matched the darker side so if my stitching was a bit crookity it wouldn't be obvious.  I used a zigzag stitch to sew down the seam allowances.  

To reduce bulk, I used raw edge construction with zigzag stitching on the pockets and facings.  Figuring out how to place the interfacing for the front edges was a bit of a challenge.  I pressed it onto the light side and folded it so the dark side formed the front facing.  The hems were done the same way.


I really don't like the "standard" reversible button and buttonhole configuration, with a button sewn right next to the buttonhole.  I find it clumsy and not very attractive, and difficult to use.

I decided that snaps would be a more aesthetic solution.  I use Snapsource snaps.  Not only are they a great product, they are made by an inventor right here in Michigan!  Snap!

Instead of using the plain silver ring on one side of the snaps, I used the decorative head on both sides. I didn't realize it until I tried the hoodie on, but doing the snaps this way means the closing is right over left on both sides!  Sweet!


 The pockets were probably the most challenging design detail of the project.  

I had cut the 'patch pocket' for the original pattern before I decide to go completely reversible.  I didn't have enough in the scrap pile to make a second set of patch pockets for the reverse side, so, I made the patch pocket an inch taller by adding a binding to finish the top and I made a large "bound buttonhole" that is just a bit lower than the top of the patch pocket so it doesn't show from the other side.  I do have to be careful to get my hand into the pocket and not drop my tissue through the other pocket opening!


It was quite an engineering challenge, but fun to figure how to make both sides of the hoodie work.  

No worries about what to do with the leftovers!

And, I still don't have a favorite side!