Showing posts with label Tabula Rasa. Show all posts

10.13.2021

A Double Dog Dare!

 Yes, I have been stalling on my September white shirt post.  I made my September shirt as part of our Threads Digital Ambassadors' Challenge this year.  Threads invited us to make an outfit/garment using a designer of our choice as the inspiration.  Now that the articles have been posted on the Threads website, I can share my shirt here.

We were asked to write three different posts about 1. the designer we chose, 2. the way we interpreted the designer in our design and 3. a technique that we used in making the garment.  I will send you to those posts on the Threads site rather than redo them here.  The four inspirations are very different, but very much reflective of their authors.  It is really fun to see them as a group.

I chose Isabel Marant for my designer and this was my inspiration image.

Marant's designs are often dripping in lace and layers...very different from the things I make and wear.  I am intrigued by her use of textures and mixing of different materials to create her garments.  It was definitely a challenge to use her as my inspiration.

I chose Isabel Marant because she seems to strike a balance between very feminine, and surprisingly masculine elements in her work.  Her garments are over-the-top lacy, yet they are anchored in strength with broad, exaggerated shoulder lines and wide leather belts.  I had a really tough time figuring out how to make a garment that was inspired by the very lacy Marant garments, without using lace!   I had a huge collection of lace but just couldn't get it to feel like me.  I ended up doing a faggot stitched vest worn over a layered tunic with raw edge details.  I wrote much more about the inspiration and the final design in the Threads posts, so please take a look over there for more of the gory details!

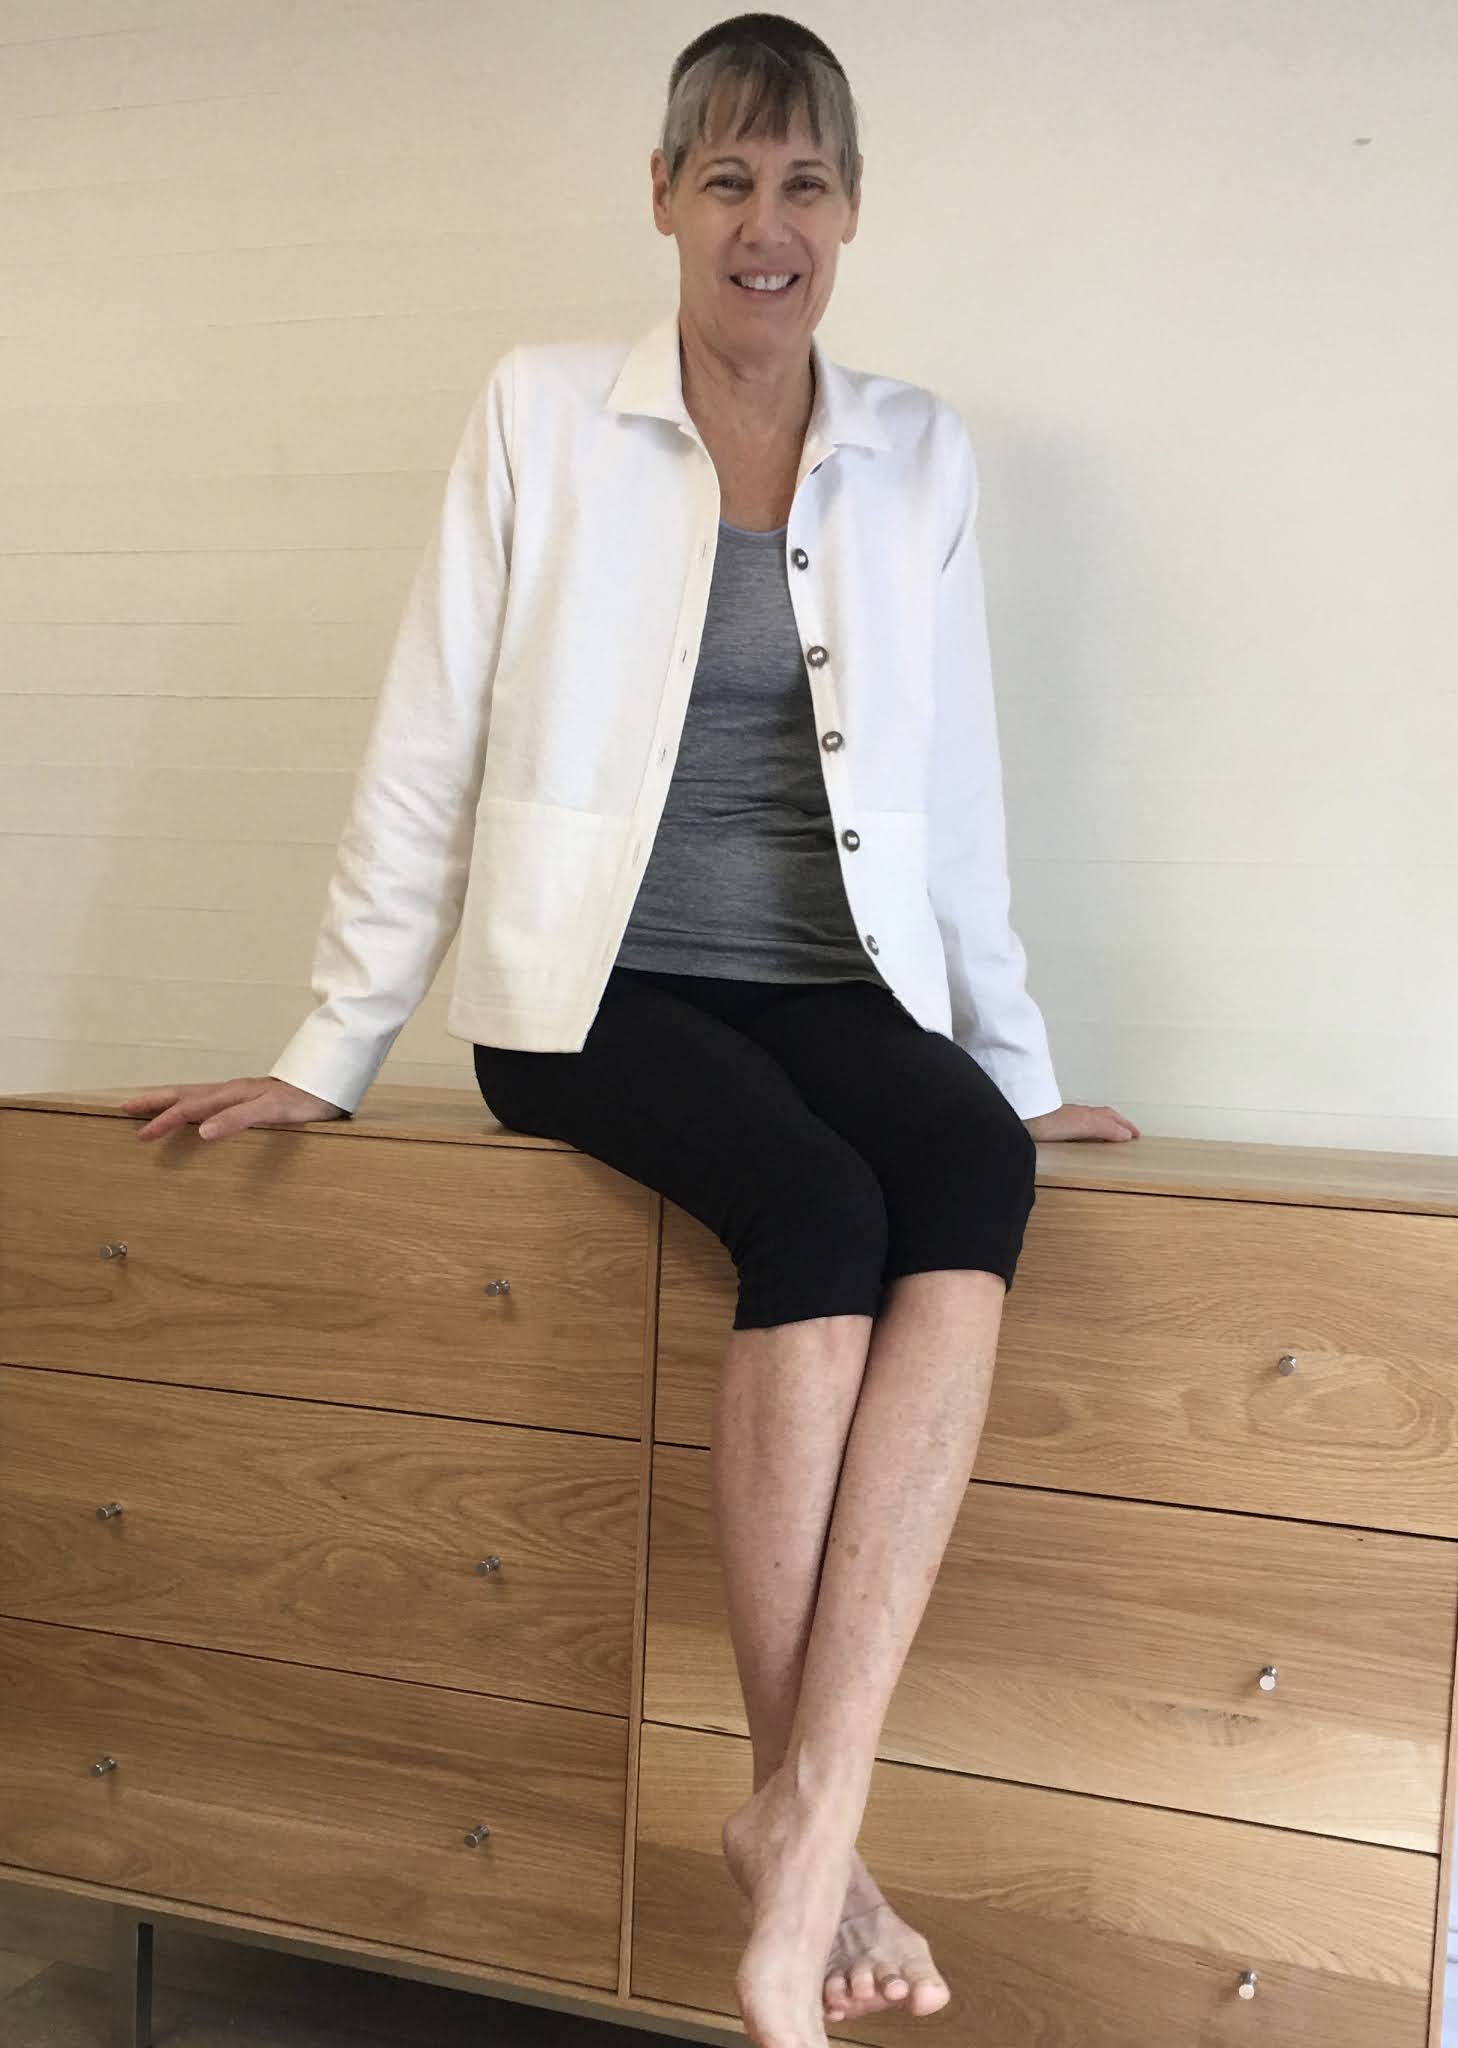
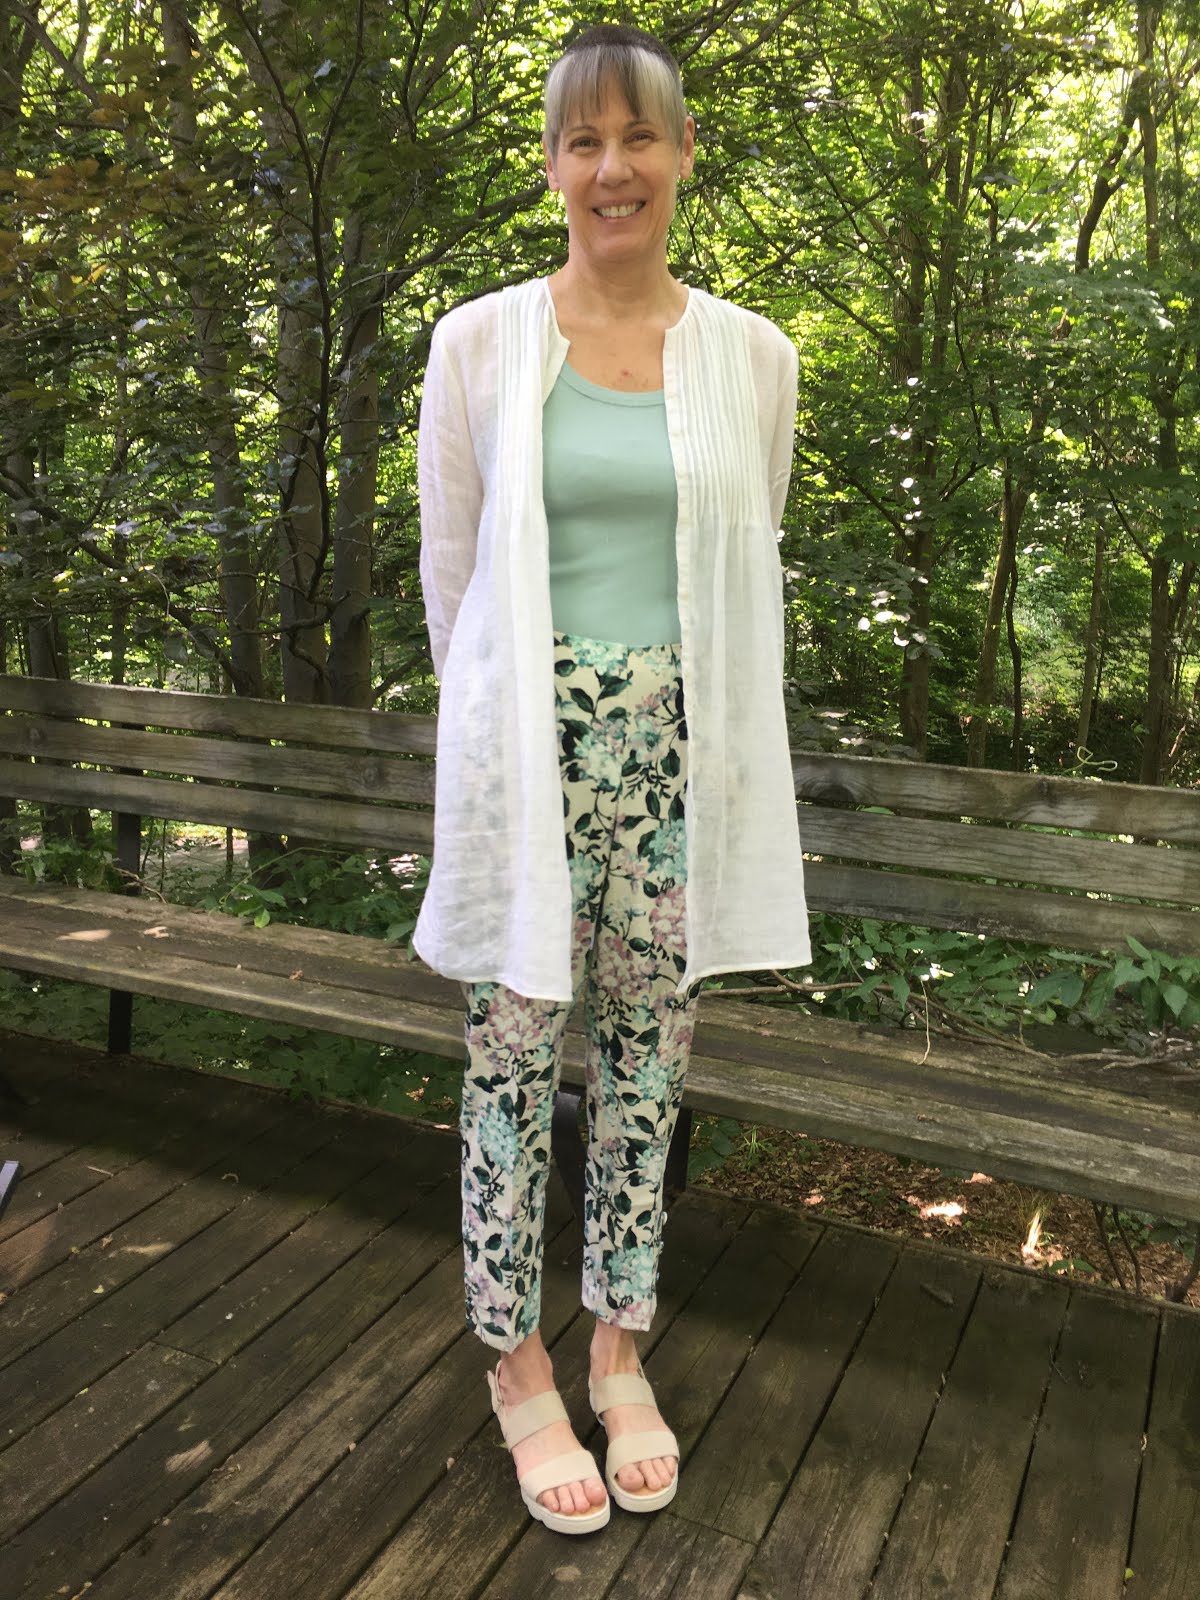
Here is my final design.  The folks over at Threads took some lovely pictures that they sent for me to show here.  (They always make my things look so good.) 


So this is my September white shirt.  I knew that it would take a bit more time than some of the other months and that is why I wanted to figure out a way to make a twofer.  Something that would be part of the Threads challenge and also part of my monthly white shirt challenge.  

I also made a little video of me dancing around on my new deck with my Isabel Marant outfit....kind of corny, but you can see that over at Threads as well.  HERE is a link to the Threads article.


So now I move on to October.  It has been quite warm this month so far, so I may not be moving into fall quite yet...we'll see.  

3.02.2021

A Little Challenge for 2021

 2021 has been looking suspiciously like 2020.  The main similarity being the inability to plan anything!  I do realize that there are yogis out there who spend their whole lives trying to be present in the moment, but the present moment does not inspire me right now!  I need a heading, something to point my compass at....nothing monumental or earth shaking, just a little something out there in the wilderness to make my way toward.  Since traveling is still a big unknown it can't be an anticipated vacation, or visits with friends and family.  After considering a few options I landed on a sewing challenge.  What and when I sew is pretty much in my control and that is what I need, something that doesn't depend on "acts of God" or the whims of politicians.   I have been having a bit of trouble getting my 'sewjo' going and thought some kind of challenge for myself would get me moving and keep me going.  

I thought about joining in on the "make nine" challenge that many people do, but it requires that you choose nine patterns and nine fabrics that you want to make over the year.  This is just not possible for my brain.  I never really know what I will be sewing until I'm doing it.  The idea of choosing NOW what I want to be sewing in September?...I don't see it.  

I have a sewing buddy who got herself a whole bolt of white linen.  She wants to make a pile of white shirts.  Ever since she mentioned this it has been rolling around in my head.  I decide I would do a 'white shirt' challenge this year.  I made a few last summer and it was fun and challenging to make each one it's own thing.  I love playing with different textures and weights of fabric, the style possibilities go on and on, and choosing white fabric on line is much more doable than trying to match colors!  I am targeting one shirt a month...doable but not strict...I'm not going to beat myself up if I don't get 12 in the year.  In fact, since this is March already I only have 10 months left anyway! 

This idea took shape during the last week of February.  If I was going to start in February it was going to have to happen right away.  C'mon sewjo don't fail me now.  Not at the starting line!  I masked up and made a quick trip to my corner (literally on the same street) fabric store and came up with a white canvas duck cloth.  ...I said it was going to be a challenge!  I also found some metal buttons and twill tape, here we go.  Talk about staring at a blank canvas...😏


The weight of the fabric suggested a shirt-jacket of some kind.  I pulled out my Tabula Rasa pattern as a starting point.  I love the sleeve of this pattern and it would work well with my canvas.  Topstitching also came into the plan...back to the corner for heavy duty thread.

One of the things I really like about the Tabula Rasa is the sewing order.  I like getting the collar and front details finished before adding the bulk of sleeves to the mix.  


The metal buttons had little slots that I threaded the twill tape through.  I stitched the tape to the center front between the buttons.  I got all six buttonholes perfect in the first go!!!  Too bad they were all 1/2" to low for the buttons!!!!  Argggggggg.  The sound one makes when ripping out five perfect buttonholes!  

Once the fronts, back and collar are ready, the sleeves and side panels are connected and the seam is done in one pass from the front hem over the shoulder to the back hem.  No fussing around in little confined arm holes.  This construction method is also great for adding topstitching details.


I added some extra topstitching to define the pocket....(hard to see it with all the white!)


So there you have it, the first of my white shirts (I'll have to come up with a catchy name for my challenge, maybe for March.)  A white canvas shirt-jacket.  I think it will be perfect for breezy evening walks to the beach.  


I'm not sure if it will continue the rest of the year, but having this little challenge got me motivated and sewing in the last week of February.  I'm already ruminating about the March shirt.  We'll call it a good start!

10.21.2020

Win-win...but not Winter!

I love fall!  I love the cool, crisp air.  I love watching the colors move through their journey from green to yellow and gold, to crimson and rust.  I love the soups and spices that happen this time of year.  The only part that I don't love is knowing that for the next several months I will be battling icy sidewalks, snowdrifts, power outages and arctic windchills.  I know some people love the snow, but as my healing time has lengthened, I am much more worried about tumbling than I used to be.  Cold and snow are parts of the Michigan seasons that I will be glad to watch from a distance.  But for now, I am loving the weather!

Having lived with four seasons all my life, I can't quite wrap my little brain around 'no cold.'  I have been making a new summer wardrobe to have in my new place, but this time of year I am just itching to break out the wool!  To quell the urge I hauled out a cotton jersey that has a mock quilting pattern.  It's kind of a mateliasse kind of thing.  It looks warmer than it is.  I thought it would make a great sweatshirt for the few cool nights that might crop up.  But I didn't want a plain 'ol sweatshirt...I wanted a more 'designery' sweatshirt.  I did some trolling around on Pinterest (you can see some of my finds to the right ->) to see what kind of details might up the cache of my sweatshirt.


I settled on a cropped style with some kind of gathered hem.  As a starting point, I pulled out my tried and true Tabula Rasa pattern.  As I have said before, it seems to cover a huge range of styles and I know it will fit the way I like when I'm finished.  I cut out the main pieces and left them long while I pondered how to finish the hem.  This is just the kind of project I love.  No definite plan, just a sketchy idea and a few detail options to get me going.  I can always hear Diane Ericson in my head, "do the part you know!"

This is also the kind of project that I get caught up in and forget about taking photos of the process.  Ooops! 

I wanted those Kangaroo pouchy front pockets that you get on sweatshirts, but a bit more 'elegant.'  (If "elegant" is a word that you can use to describe a sweatshirt?!)  Tabula Rasa side seams are the perfect place to set in pockets and I decided to line the shirt with a very light weight bamboo knit which meant I could use it for the inside of my pockets by just stitching through from the front.  The seams of the pattern are forward from the actual side of the body so the pocket placement is really ideal for getting your hands in and out easily.


I used the side panel underarm seam as my guide and extended my topstitching to complete the pocket bag.  A little hard to see with all the quilting lines...


I cropped the front and let the back hem hang a bit longer and used the hem allowance to make a casing for a half drawstring across the front.  Again the side seam placement meant the detail was a bit forward which I like.


Serendipity prevailed again when I realized that I could leave the sleeve length and use the lining to make  cuffs.  I love extra long sleeves on cool morning walks to keep my fingers warm!  

One thought that I played with was putting a drawstring at the neck as well.  I made a casing by wrapping a strip of the lining fabric over the neck edge and leaving a 2" space at the center front.  When I got the drawstring in place it was just one thing too many, so I took it out.  When I showed my astute husband my new sweatshirt outfit his comment was, "the neck doesn't look finished."  Rats!  I thought I might be able to sneak it by, but he was right.  He also asked if I was channeling Coco Chanel...?  He thought the short quilted top and the short, straight skirt were very Chanel-esque.  Hmmm...That gave me a new idea for the neckline...thanks Honey!

I created a 1960's-ish collar using a strip of the quilted knit.  Much better.  (and the hubby thought so, too!)

The skirt was a bit of an after thought.  I had exactly a skirt length of fabric left...even the width was right.  I didn't even have to cut anything, just zip up a back seam and put in some elastic.  You can see the wide elastic top in this picture....I was trying to get a twig off the string of lights that hangs over the outside table.  Thanks again Honey!


I really wasn't thinking I was going to end up with a little Chanel Sweat-Suit, but there you go!  It may not make the Paris runways but it is very comfy, cozy and hopefully, a useful wardrobe addition.  AND, a really fun project!  Win-win!


6.24.2020

Funny Pants and a Sunny Shirt

All spring I have been thinking about a pair of JJill pants that I saw in their catalog.  I don't know why they have stayed on my mind.  They are nothing like I would usually pick, but something about the print or the colors....I'm not sure...maybe they just have gotten stuck in my head because I want to think about anything other than virus and violence.  Whatever the reason, I just haven't been able to shake 'em.  So the other day when I got an "update" from JJill in my email, they were on sale!  Lucky me!  I figured this was a sign.  I ordered them up. (along with some really darling sandals😉)

When they arrived I was so pleased.  They fit...pretty much....the fabric and print were lovely...they might border on "too cute for their own good" but they make me happy.  I was surprised to find a tank top that I had gotten last summer when I was visiting Portland, OR that was perfect with the pants.  I love it when a plan comes together.  Even when it wasn't a plan.

I did decide to nip in the waist of the pants just a smidge.  It was really easy to do since the back of the waist is elastic.  I opened the casing and took a tuck in the elastic and stitched it back in place.  A 5 minute fix.


While I was awaiting the arrival of my spiffy (that's a word my Grandma used for just such occasions) new pants...which took forever to get here!  I kept myself busy with another thing that has been on my mind forever.  A new sun shirt!


I have been wearing this shirt that I got on sale at Banana Republic eons ago as a cover up at the beach.  It is a very lightweight cotton voile/gauze with a bit of a crinkle in it.  The weight is perfect for hot sunny days when I need to keep the sun off my shoulders.  I have tried other solutions, even made a couple of failed options, but keep dragging this shirt along.  It's getting to the point that it shouldn't be allowed out of the house, but I can't give it up.  I found a gorgeous gauzy linen while I was rearranging in my stash that was the weight I was looking for.  New sun shirt here we go!

Now I say the old sun shirt was perfect, but that's not quite true.  The neckline is a bit low and doesn't keep the sun off my chest, and it could be a titch longer if I am being super critical.  With those changes in mind I forged ahead...

My plan was to use the Tabula Rasa pattern from Fit for Art.  I love this pattern for lots of reasons, but in this case it is the way the sleeves and shoulders are designed that I wanted.  They are roomy without being 'baggy.'  Since I knew I was going to wear this shirt over other clothes, I wanted to make sure it would have the room I needed and also be easy to put on and take off.
You can see the Tabula Rasa and all the other great patterns from Fit for Art here.


I started by making the pleats.  The very tiny 1/8 inch pintucky pleats.  My fabric was perfect for the cover up but not ideal for making pleats.  After taking out several tries I decided I would pull a thread the length of the pleat to mark the fold.  I could keep the folds straight and when the pleats are sewn in the pulled threads don't show at all.  My edge stitch foot was also a lifesaver.


Because the fabric was soooooo loosely woven I wanted to avoid too many seams.  I decided to use the selvedges as the front button placket.  I measured the pleat placement in from the selvedge on each side of my fabric and made the pleats intending to cut the pattern out once they were in place.  I made another set of pleats in the center of the fabric to give myself the maximum space to cut the back of the shirt.  

When I folded the pleated fabric and placed my pattern pieces....BINGO!!!  They fit exactly.  I must have re-done the layout 7 times...yep...it was a perfect fit!  No side seams needed!  I only had to cut out the armholes.  The way the pattern is put together WITH a side seam makes it really easy to do french seams.  However, with no side seams...well let's just say that I'm glad the seams are in my armpits where nobody will see them.  ( I have edited out the bad words and hand wringing)

I added as much length as I could get out of my fabric and also made the sleeves a bit too long so they will cover the tops of my hands if I want and roll neatly out of the way when I don't need the coverage.  I made a small bias bound edge at the neck, buttons and buttonholes, Bob's your Uncle, I have a new sun shirt!  And doesn't it look great with my new flowery pants?! (also note darling sandals, score!)


After literally years of dreaming about this shirt, here it is!  Yeah!  Let the sun shine in!


5.20.2017

My 49'er


**WARNING**  Long post ahead!

Last fall a group of ASG sewing pals decided that we would all work with the same pattern.  A few of the women had seen the Tabula Rasa jacket at the ASG conference in the summer and wanted to give it a go.  

We met several times to compare fabric choices, to get style and fitting advise and basic moral support! (the meetings involved lots of laughing and chatting as well, duh!)  The target date was to have our jackets completed for the annual spring luncheon and fashion show and tell.  It seemed very far away last fall! 😬  
(Apparently I was misinformed...more likely, not paying attention!...our actual target date was our June chapter meeting!  I'm early!!!!)

The pattern by "Fit for Art" Patterns is a very well designed kimono-ish style.   The pattern pieces are designed to be 'blank slates' (which is what Tabula Rasa actually means!) for adding embellishments and details.  The way the side panels and sleeves are drafted makes putting the jacket together a breeze!  There are also very clever fitting/adjusting points that make it adaptable to many body types.   There are some additional patterns available that allow the design to morph into a blouse or a dress with a couple different neckline options.  All together a nice choice for our challenge.


When I saw the pattern the first thing that came to mind was my grandma.  My grandma had a closetful of wonderful wool Pendleton 49'er jackets.  Even as a kid I loved those things.  She always looked sharp and sporty and, well, cool!  I have wanted one forever.  Obviously, I could just go buy one, but that would be way too easy now wouldn't it!
I figured with a little bit of alteration to the neckline, a collar and a couple of patch pockets the Tabula Rasa would make a very reasonable 49'er.


I wanted to send up a trial balloon of my idea so with the help of my favorite "pattern weight" I picked out a plaid suiting fabric from my stash.  I also wanted my finished jacket to be more of a "swacket."  You know a jacket that feels kind of like a sweater when you wear it.  So I chose a ponte knit for the sleeves.

Bingo! I was pretty darned happy with my 
Pendleton-esque swacket.  Maybe a bit smaller on the collar, but not bad at all.


OK, pattern, check. 👍  
If this was going to be a 49'er it had to be wool.  AND it had to be wool that looked like it could have been hanging in my grandma's closet.  Off to the thrift store!  

I came home with a wool jumper and some corduroy pants.  Not quite the haul I was hoping for.  A little stash diving turned up a nice calvary twill and some great rayon lining.  But still not a whole jacket's worth of fabric.  And nothing for the sweater-like sleeves.  Off to the yarn shop!


I chose two yarns to work as one so the finished fabric would be about the same weight as the wool jumper and the colors had a nice tweedy feel.  Another thrift store rendered a pair of very bell-bottomed herringbone trousers that made me much happier than the cordurouys.


I decided to tackle the sleeves first.  I drafted a knitting pattern using the jacket sleeve patterns and my gauge swatch.  Working with the two yarns made it a very fast project.  I left the stitches 'live' rather than binding them off to make sewing them to the jacket easier and the seam less bulky.


Sweater sleeves. Check! 👍


I pulled the pants apart and because of the big bells had plenty of fabric to work with. 


The plaid jumper was just enough to get the front and back panels and the collar pieces (matching the plaid of course!)  I used the herringbone for the side panels, the front facings and the under collar.  The pockets came straight off the jumper, linings and all.  Picking up the live knit stitches worked great.  The way the pattern is designed makes putting the sleeves in very easy as well.

I had used a tiny red rick-rack to jazz up the front facing/lining seam and continued with a red dupioni silk for the Hong Kong finishes on the rest of the seams.  I did only a half lining on the back because I wanted the sweater feel, it does make it easier to slip the jacket on and off.  The buttons are cool leather with brass edges that I got on my recent trip to NYC.  (my "pattern weight" again, inspecting the final product!)


You might think that is the end of my 49'er jacket story...BUT...I really like the pattern and decided it would be great for the taupe linen that I brought back from Italy. 


On this version I made the collar even narrower, added cuffs, lined the sleeves and the front with a silk crepe de chine and used a funky cotton stripe to line the back shoulders, cuffs and seams.


 It layers well with my bias linen dress...that's number two of my "Three Easy Pieces."