10.21.2020

Win-win...but not Winter!

I love fall!  I love the cool, crisp air.  I love watching the colors move through their journey from green to yellow and gold, to crimson and rust.  I love the soups and spices that happen this time of year.  The only part that I don't love is knowing that for the next several months I will be battling icy sidewalks, snowdrifts, power outages and arctic windchills.  I know some people love the snow, but as my healing time has lengthened, I am much more worried about tumbling than I used to be.  Cold and snow are parts of the Michigan seasons that I will be glad to watch from a distance.  But for now, I am loving the weather!

Having lived with four seasons all my life, I can't quite wrap my little brain around 'no cold.'  I have been making a new summer wardrobe to have in my new place, but this time of year I am just itching to break out the wool!  To quell the urge I hauled out a cotton jersey that has a mock quilting pattern.  It's kind of a mateliasse kind of thing.  It looks warmer than it is.  I thought it would make a great sweatshirt for the few cool nights that might crop up.  But I didn't want a plain 'ol sweatshirt...I wanted a more 'designery' sweatshirt.  I did some trolling around on Pinterest (you can see some of my finds to the right ->) to see what kind of details might up the cache of my sweatshirt.


I settled on a cropped style with some kind of gathered hem.  As a starting point, I pulled out my tried and true Tabula Rasa pattern.  As I have said before, it seems to cover a huge range of styles and I know it will fit the way I like when I'm finished.  I cut out the main pieces and left them long while I pondered how to finish the hem.  This is just the kind of project I love.  No definite plan, just a sketchy idea and a few detail options to get me going.  I can always hear Diane Ericson in my head, "do the part you know!"

This is also the kind of project that I get caught up in and forget about taking photos of the process.  Ooops! 

I wanted those Kangaroo pouchy front pockets that you get on sweatshirts, but a bit more 'elegant.'  (If "elegant" is a word that you can use to describe a sweatshirt?!)  Tabula Rasa side seams are the perfect place to set in pockets and I decided to line the shirt with a very light weight bamboo knit which meant I could use it for the inside of my pockets by just stitching through from the front.  The seams of the pattern are forward from the actual side of the body so the pocket placement is really ideal for getting your hands in and out easily.


I used the side panel underarm seam as my guide and extended my topstitching to complete the pocket bag.  A little hard to see with all the quilting lines...


I cropped the front and let the back hem hang a bit longer and used the hem allowance to make a casing for a half drawstring across the front.  Again the side seam placement meant the detail was a bit forward which I like.


Serendipity prevailed again when I realized that I could leave the sleeve length and use the lining to make  cuffs.  I love extra long sleeves on cool morning walks to keep my fingers warm!  

One thought that I played with was putting a drawstring at the neck as well.  I made a casing by wrapping a strip of the lining fabric over the neck edge and leaving a 2" space at the center front.  When I got the drawstring in place it was just one thing too many, so I took it out.  When I showed my astute husband my new sweatshirt outfit his comment was, "the neck doesn't look finished."  Rats!  I thought I might be able to sneak it by, but he was right.  He also asked if I was channeling Coco Chanel...?  He thought the short quilted top and the short, straight skirt were very Chanel-esque.  Hmmm...That gave me a new idea for the neckline...thanks Honey!

I created a 1960's-ish collar using a strip of the quilted knit.  Much better.  (and the hubby thought so, too!)

The skirt was a bit of an after thought.  I had exactly a skirt length of fabric left...even the width was right.  I didn't even have to cut anything, just zip up a back seam and put in some elastic.  You can see the wide elastic top in this picture....I was trying to get a twig off the string of lights that hangs over the outside table.  Thanks again Honey!


I really wasn't thinking I was going to end up with a little Chanel Sweat-Suit, but there you go!  It may not make the Paris runways but it is very comfy, cozy and hopefully, a useful wardrobe addition.  AND, a really fun project!  Win-win!


10.08.2020

An "Ouch" Pouch

 I saw something recently on Pinterest or Insta-thing or somewhere, and thought it would be a simple, fun little project.  Take part of an afternoon.  Something different than clothing, a bit of a distraction...And it was.  All of that!  Except the 'simple' part!  I said bad words.  And broke fingernails.  And sewing machine needles.  It looked so innocent in the picture.

...isn't it cute?!  A little "back-to-school" pencil case.  Adorable!


I like to use lots of different colored pens and pencils when I write in my journal.  It reminds me of being a kid with a new box of crayons.  I have tried lots of carrying ideas for my stash of writing implements but haven't loved any of them.  This one folds into a tidy pouch about the same size as my journal and keeps everything neat in little inside pockets.  OK!  

There were lots of different patterns, and tutorials and instructions for this particular pencil tote.  I eventually landed on one that I found at a website called "Ikatbag"  Here is the link.  I checked my stash and had all the right stuff.  Even the squishy, car headliner fabric that I had gotten for another innocent looking tote project!  (Maybe I should have been clued in at that point, but no....)

If the material list didn't put me off, maybe I should have paid a bit more attention to the note from the author of the pattern and instructions (which by the way are very good!)...

"Don't be discouraged if you don't find this pouch as easy to make as it might appear, okay? While I wouldn't for a moment consider it difficult (you can make one in a day or less), I'll be honest: it nonetheless IS fiddly. I mean, it's a 3D structure that has a lot of curves in places that are inconvenient, and it's stiff in other places that make it unwieldy to handle. And it has a zipper which, for some people, translates to Ew, Let's Just Give Up Now. I also know that some of you have been waiting for these templates so you can mass-produce them for all your kids' friends, classmates and neighbors. Bravo - mass-producing rocks. However, I'd suggest you try ONE marker pouch before committing to making a hundred. Just thought I'd set the appropriate expectations, in the hope that it will help you guys persevere if you hit a snag or two. You can do it! Many of us have already done it, and are sharing testimonies of how they're still alive after. So don't give up! I think you'll love the outcome."

And, NO, I will not be making a hundred of these as stocking stuffers!

Lest I completely put you off making one of these handy little items, it is doable.  But like she says in her note, it's fiddly and there are a whole bunch of layers to stitch through at certain points. (see needle breakage note.)  I forged ahead, that, "part of an afternoon," turned into the whole dang day!  But I got through it and actually really like my little pencil pouch!  I think the struggle makes it that much more lovable.  Anyway.. I now can tote my plethora of pretty pencils and pens in a perky pouch!


It seems strange that I will geek out on a oiled canvas raincoat with crazy complicated hardware and not think twice about it, or a backpack with a bazillion fiddly pockets...but put a cute little pencil case in front of me and, "boing" I'm a basket case!  I guess everyone has their flavor of challenge.  For now...I'm glad I tried it...and I'm glad it's done! 👍


10.01.2020

Just Do It! Raincoat

 I have spent a lot of time during this crazy locked down year sorting and pondering my sewing room 'stuff.'  It is something that I have threatened to do for a long time, but always find something way more interesting to do.  Not only have I had the time to devote to this project, it is also necessary as we work to consolidate and move into a new life phase.  I never thought I would be in the 'snowbird' category, but here I am...and I think I will be quite content to go to snow when I want to rather than struggling through it on a daily basis.  (Although I have realized that wool is still one of my favorite fabrics!)

As I have unloaded drawers and boxes I have come across things that I have moved 4 or 5 times (and I haven't moved in 24 years!!!!)  I am awed by the 'value' that these things have taken on just by the sheer fact that I have paid to have them moved over and over again!  I wonder..."if I haven't used it in 24 years, when?"  I am uncovering long ago abandoned excursions into different 'crafts' that I can't even remember how to do or why. (e.g. wool rug hooking...?????)  Some things I find easy to let go and others touch a memory or a wish that keeps them in the 'undecided' pile a little longer.  

One of the ways that I have been 'processing' is to 'just do it!'  Rather than put something away for later, I just make it.  I have no idea if or when some of these projects will ever be worn or used, but the making seems important somehow.  It is how I am able to let something go I guess.  Sometimes I remember what I had in mind when I acquired the fabric or patten and sometimes I just go with whatever comes to mind right now.  

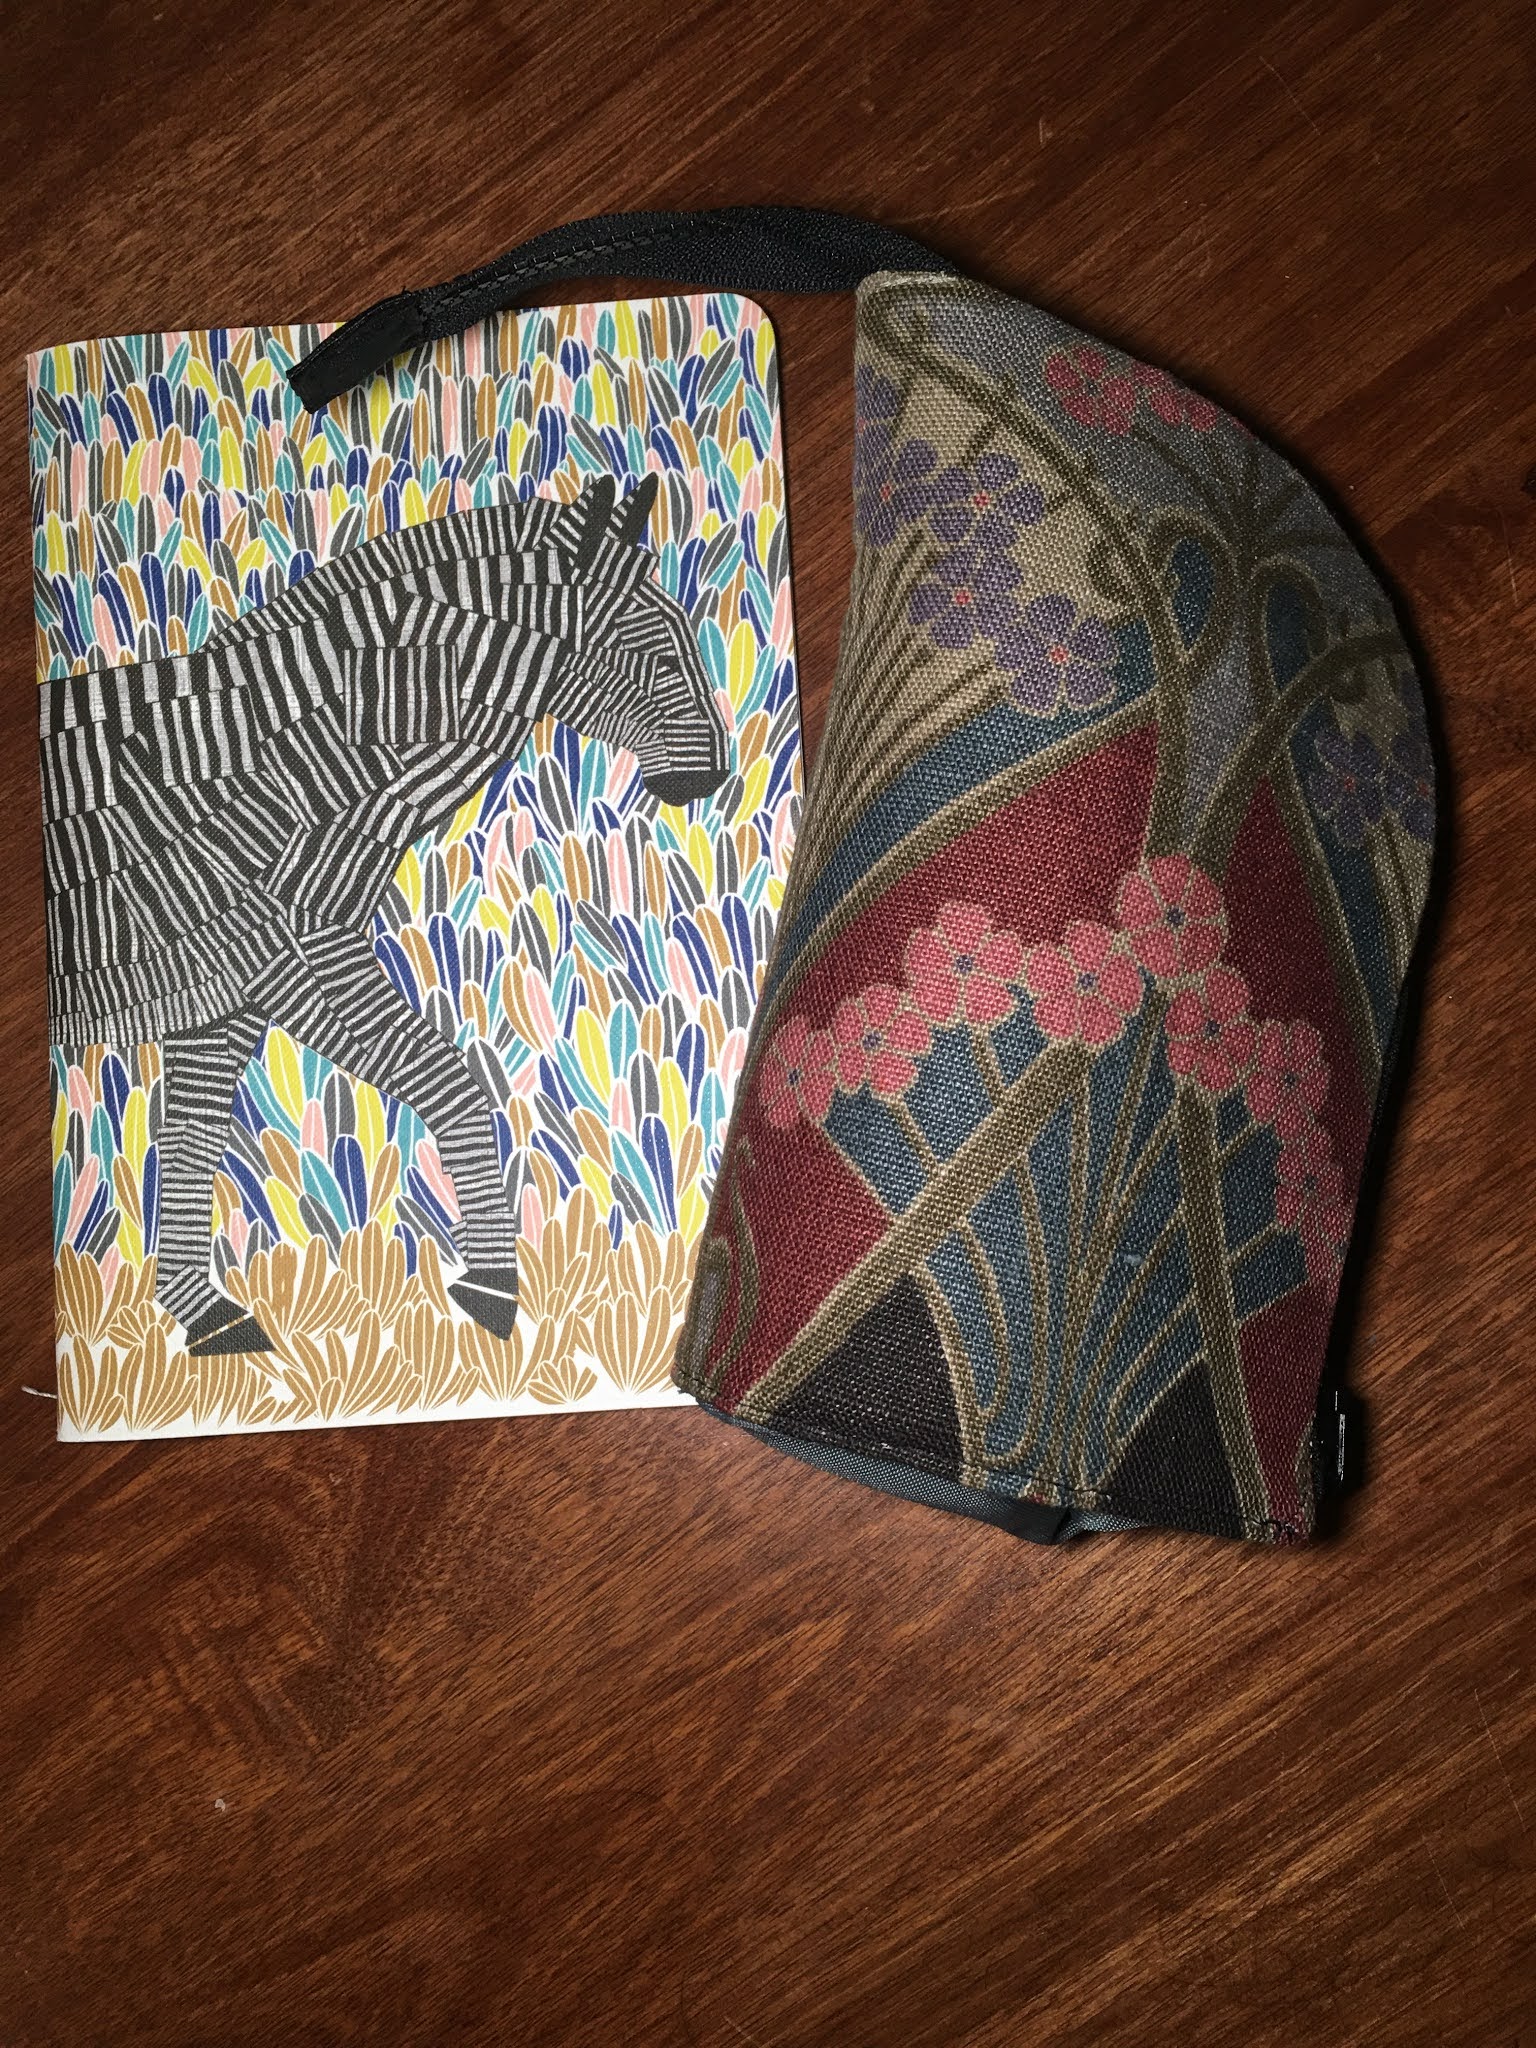
I came across the oiled canvas that I had gotten for myself at Merchant and Mills a few years ago.  I had gotten some for each of my 'boys' and made coats for them a few Christmases ago.  By the time I finished making theirs I was ready for a break and never made the one for myself.  I had planned to make the M&M Landgate parka.  As I looked at the fabric my practical brain said, "this is not fabric that makes sense in your upcoming summer-all-the-time lifestyle," but my just do it brain kicked in and I ...well...just did it!

I had made a Landgate for my husband and after watching him getting in and out of it, I decided that I would like something that had and easier access point!  I loved the hooded parka that I made during my workshop in Rye and thought that would be a better choice for me.  


I made several changes to the pattern to get the raincoat that I had in my head.  Having worked with the oiled canvas before I knew that 'layers' of fabric were not a good idea.  I minimized as much as possible.  I took out the facings and did simple folded edges for the center fronts.  I narrowed the sleeves so I wouldn't have to ease anything into the armscyes.  I made several changes to get the look that I was after.  I lengthened the coat as much as I could with the amount of yardage I had.  I added a pleat to the center back to give extra width at the hem.  I added way cool pockets (IMHO!) and way, WAY cool closures!  

As I worked my way through the project I completely lost track of time.  I was totally absorbed in the process.  The fabric is really heavy and takes a fair amount of arm strength to wrestle through the machine so I was physically tired at the end of the day, but my brain had had a kind of 'vacation' from 2020 that made me feel refreshed somehow.  Whether or not I actually needed an oiled canvas raincoat was beside the point.  I needed the 'get away.'  I was almost sad to finish it, but am totally in love with it!!!!  I may wear it someday, but that really isn't the goal.  It's all in the making.

So here is my oiled canvas raincoat with marine supply hardware....


I made it as long as I could get it with the fabric that I had.  The sleeves ended up just long enough with no hem allowance, so I used the flannel that I chose for the hood lining to face the cuffs.  It was a happy accident, because I really like the softness of the flannel around my wrists.


I wanted to make sure that when I lengthened the coat that I still had walking room.  I put a pleat in the center back that is sewn down at the top and opens up for hip and walking room.  I also made side slits.


My original plan was to use snaps for the closures so I wouldn't need to put buttonholes in the canvas.  But I remembered the cool clasps that I had found at a marine hardware supply store in London.  I had no idea what I would do with them, but this was the perfect garment to showcase them.  I am so pleased with how they look and they are easy to work as well.  It took a bit of head scratching to figure out how to attach them.  I ended up putting prairie points on the inside of the front bands so the clasps wouldn't be attached to a single layer of the canvas.  I think they are soooo cool!


I had this idea for really huge pockets.  With the amount of fabric that I had I was worried that I wouldn't be able to manage it.  Don't tell anyone, but I ended up putting the center piece of the hood off grain to get the pockets to fit.  It was totally worth it!!


So, this is what I have left of my piece of oiled canvas.  Whew!

Making this coat reminded me of why I sew.  It hasn't been about the clothing for a long time, it is all about the meditative, restorative feeling I get when I am consumed by a project.  Some people paint, some hike in the woods, some float down a river in a kayak...I sew.  Namaste!