Showing posts with label hoodie. Show all posts

7.19.2021

A White Shirt for a Chilly July

 Our move to our lake house has been full of ups and downs...there are 40 steps to the front door after all!!!!...But the most frustrating thing has been our lack of reliable internet connection.  I used to love the fact that we could not be 'connected' when we were using the house for a get away.  But now that we are here full time it has been more than frustrating.  I am sitting in the coffee shop trying to get the pictures that I want to share from my phone to my computer.  It completely baffles me why pictures I took this morning are already in my photos file, but the ones I took last week are still wandering around in the cloud somewhere.  😩 It will probably take a long phone call with one of my bright spark sons to get this figured out!  Whatever....

I have been sewing and loving my new machine and my new lofty studio, the blogging and sharing have not been as seamless (pun intended!)

Let me start with my July White Shirt.  I was thinking that it would be a very light, summery number, but we have been having an unusually cool season this year.  I put the linen and lawn aside and pulled out a sport fleece and made myself a hoodie!


I can't remember if I have ever drafted a hood before?????  I must have at some point, but my memory did not help me on this one.  I incorporated the neck opening with the hood and put a 'ribbing' of the same fabric around the edge to snug it up a bit.  I waited until it was almost done before deciding whether it needed a drawstring...it didn't!  Here is the pattern piece I drafted.  It looks like a puzzle, but it worked out well.  I hope I can remember it the next time I want a hood. 😏


I also made thumb holes.  You can see how I did it in this article that I did for Threads Insider.  It's my favorite way to make thumb openings. 


So that's July...done and dusted as my British son says!

The pants in the last picture are another pair of Closet Core joggers.  I am so smitten!  I made a little cropped cardigan to go with them and, with our cool summer, I have been wearing them both...a LOT!  I hacked my woven T-shirt pattern to make the cardigan.  I think I will be doing it again, it turned out to be a great layering piece.


And finally...I am forever the optimist and made myself a very summery, eyelet romper!  This may count as my "too cute for it's own good" outfit for 2021!  I mashed together the square vest that I used for my patchwork linen top and my Merchant and Mills Eve pants.  It worked out very smoothly.  Now I just need some warm days to try it out.  


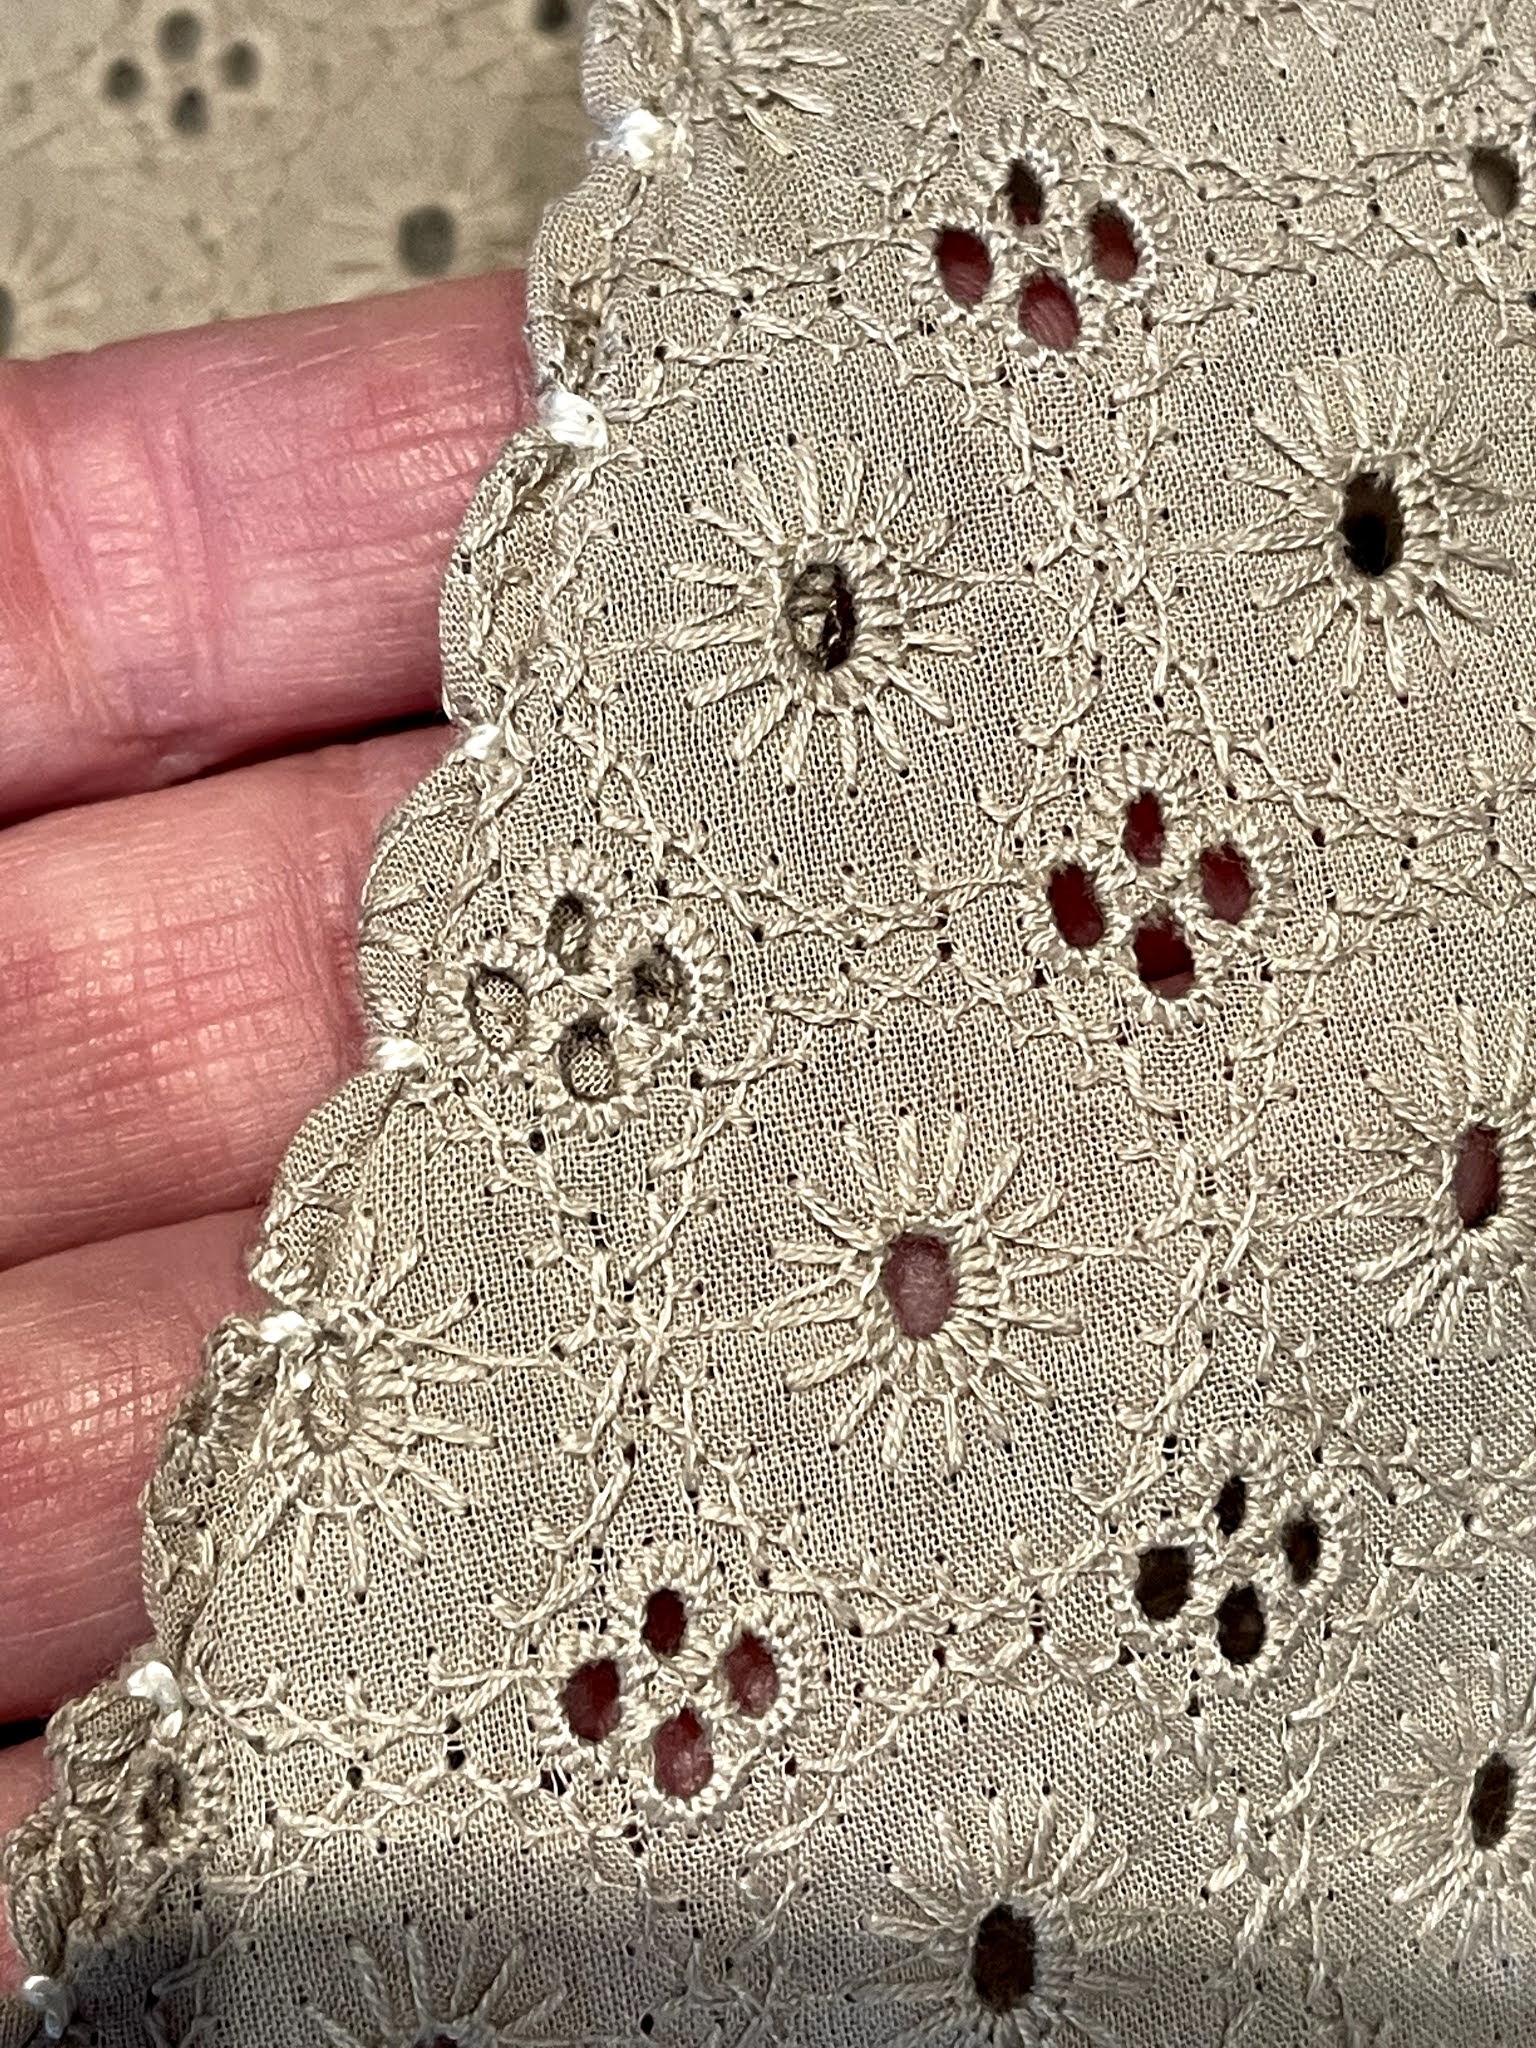
The neck edge is a bias binding turned to the inside as a facing, but leaving about a quarter of an inch unturned.  I tucked it in every half inch to make the little scalloped edge.  I used a creamy colored pearl cotton and I like the little twinkle it gives.


I am hoping that we will soon be more connected to the rest of the world and I can do a bit better at sharing my new sewing space and projects.  With all of the moving and shaking that has been going on for the past several months, I am sooooo glad that I have had a place to sew.  It has always been my "get away from it all" place and I have sure appreciated being able to tune out for a few hours now and then.  

I am also hoping that I will be making a much lighter white shirt in August....jeez!


6.17.2021

Movin' On Up and a May White Shirt

My May white shirt is finally done!  We will ignore the fact that it was actually made in June and move on.  May was spent loading boxes and laundry baskets of stuff from our home of 25 years into the car and carting an hour to our summertime house that is now our everyday house, in preparation for selling the aforementioned 25 year home!  The run-on sentence is kind of how the whole process felt.  What are we doing today?...loading the car and carting stuff up 40 steps...what about tomorrow? ...loading the car and carting stuff up 40 steps!!!!  If you think I'm kidding about the steps...


Anyway, since my sewing stuff spent the month of May in boxes and laundry baskets I did not have a chance to make my May white shirt, so we will pretend that it happened in May and hope I can get the June installment in books before July!

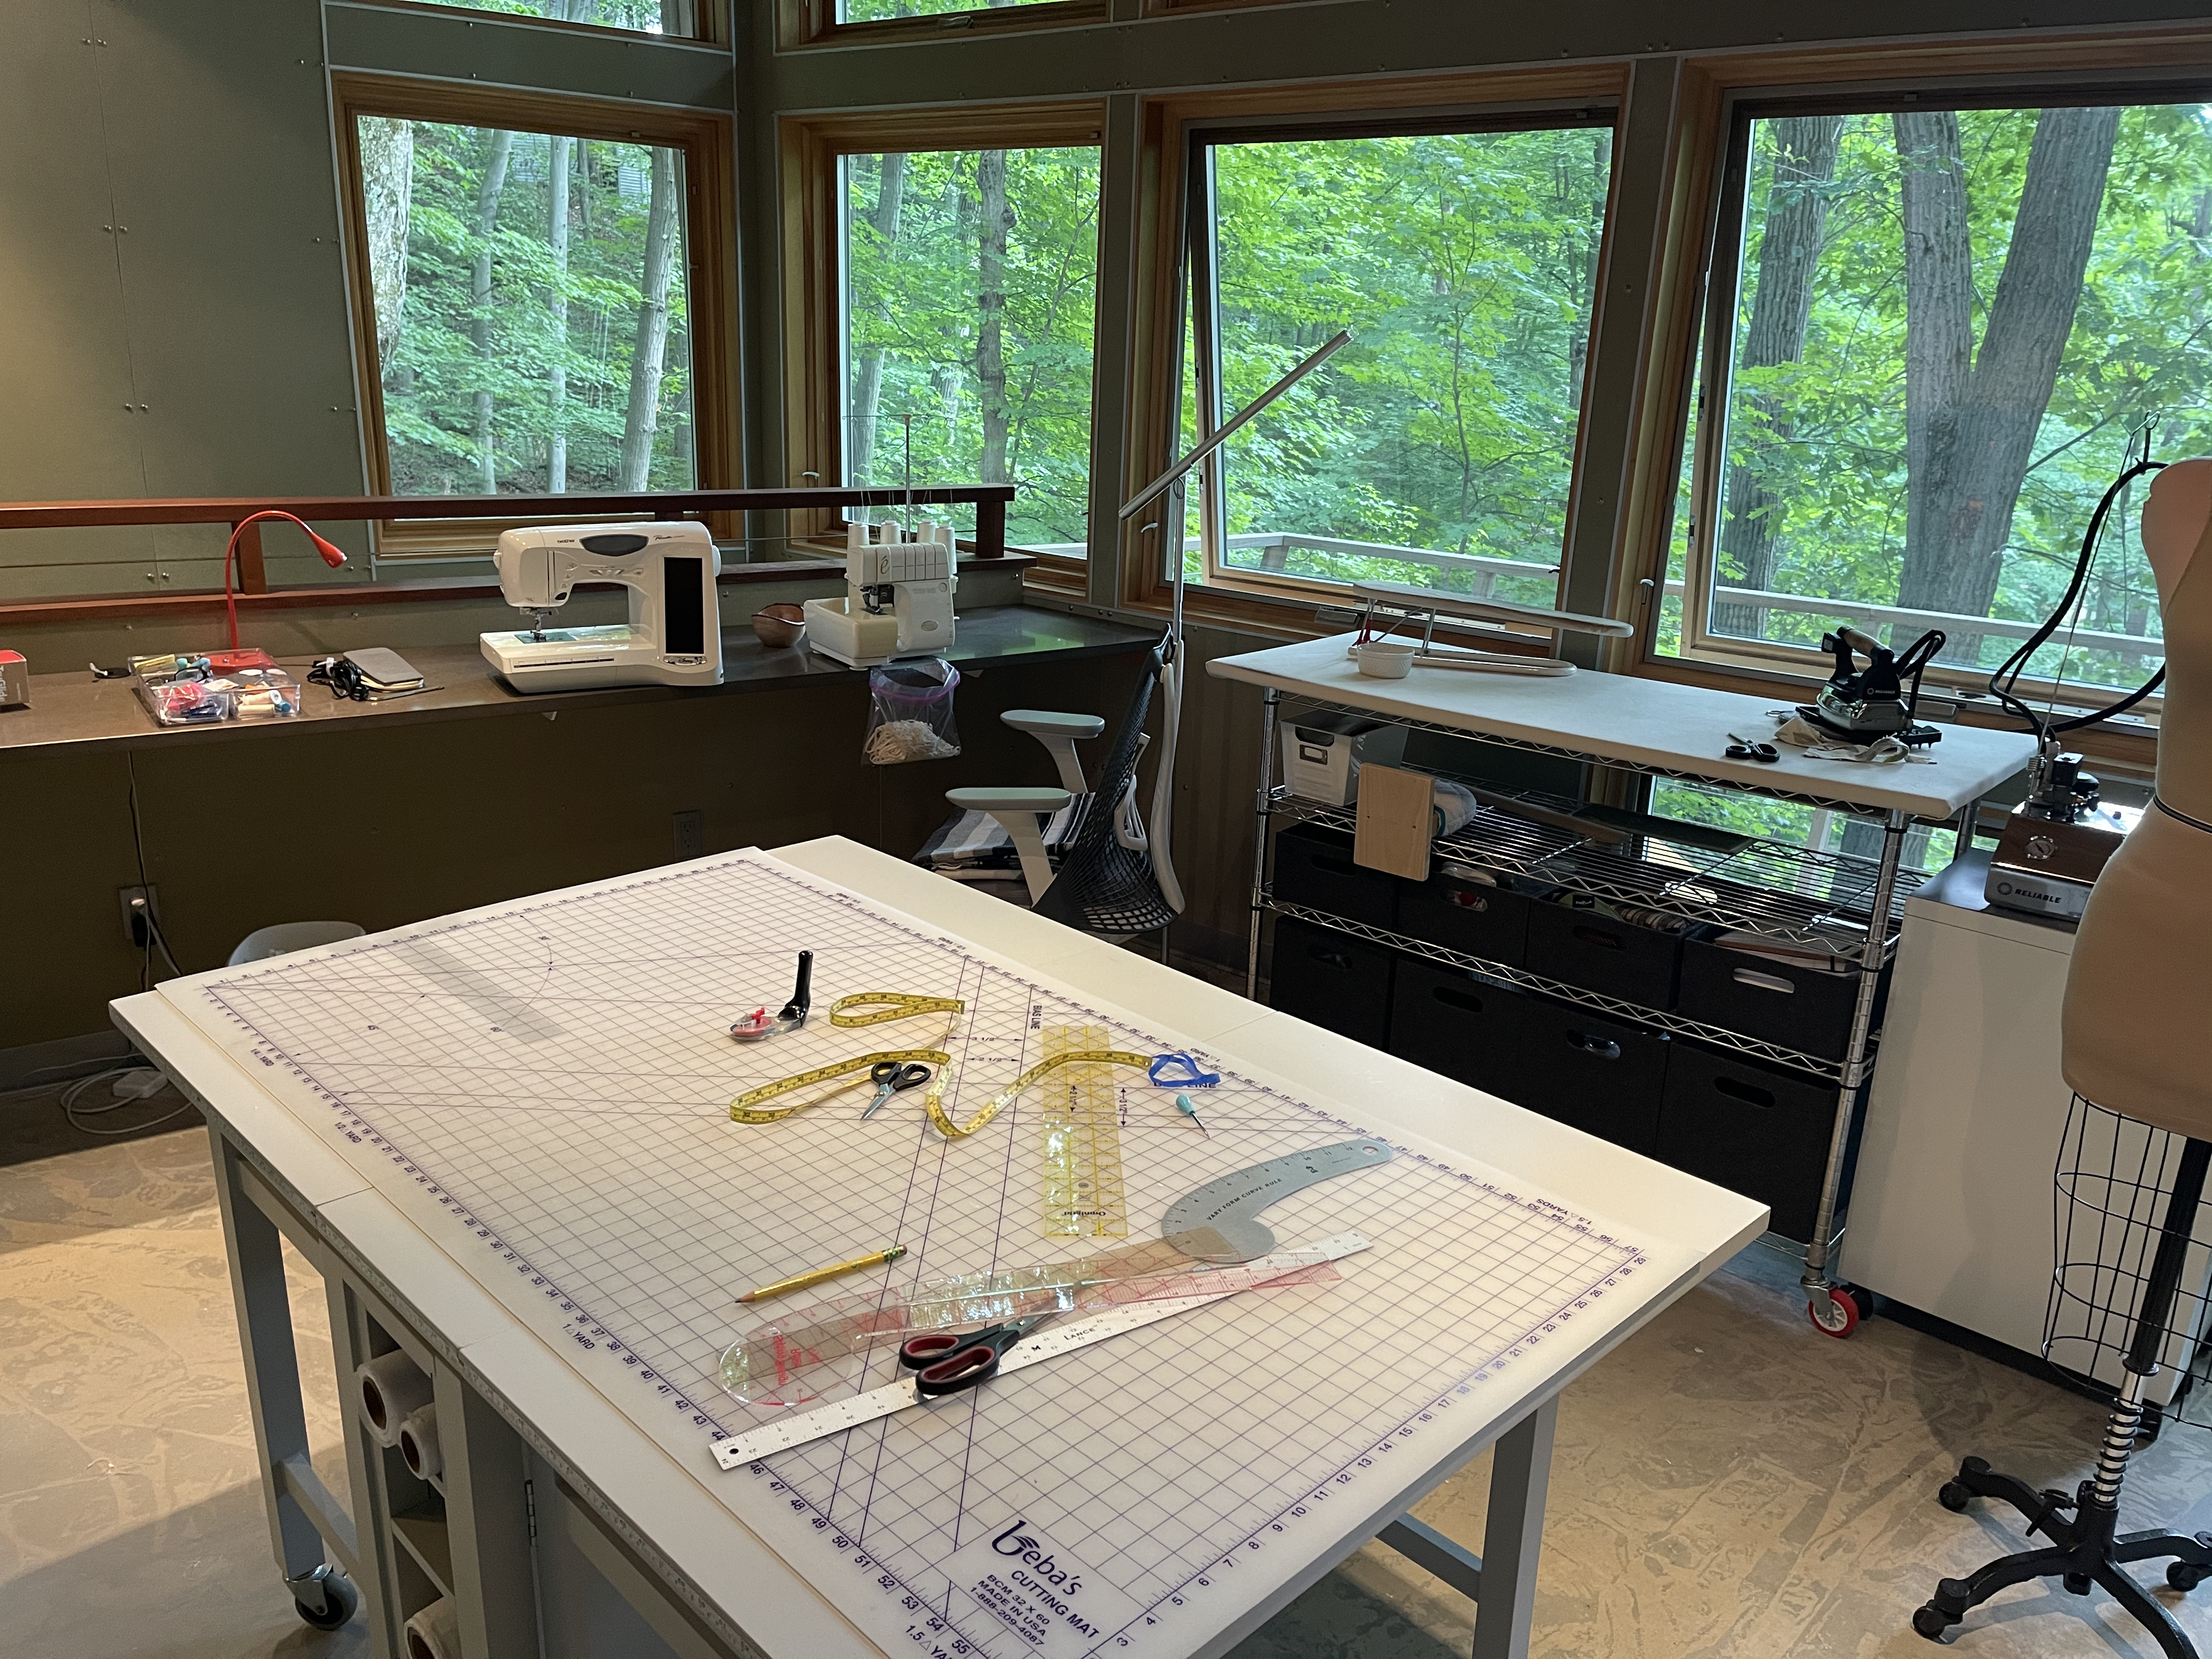
Before I get to my shirt, let me show you my new sewing 'cupboard.'  As part of our move to our former summer cottage, now everyday house, I said good bye to my sewing room and moved into a large closet on the third floor.  The loft room was planned as a multipurpose room so some days it's my sewing room and other times it is the yoga studio, or an office.  So all of my sewing paraphernalia is now on wheels and rolls neatly into the closet when I finish working.  I am liking the discipline of cleaning up after a project and starting with a clean slate.  It seems to make sense in my new downsized lifestyle.

Good bye old sewing room....


Hello new sewing cupboard...everything folds and rolls...


When it's time to sew, my treetop loft becomes a lovely sewing oasis...


At the end of a project, it all folds back into the cupboard to make space for whatever comes next...


So that is where my May (ahem...June) white shirt happened!

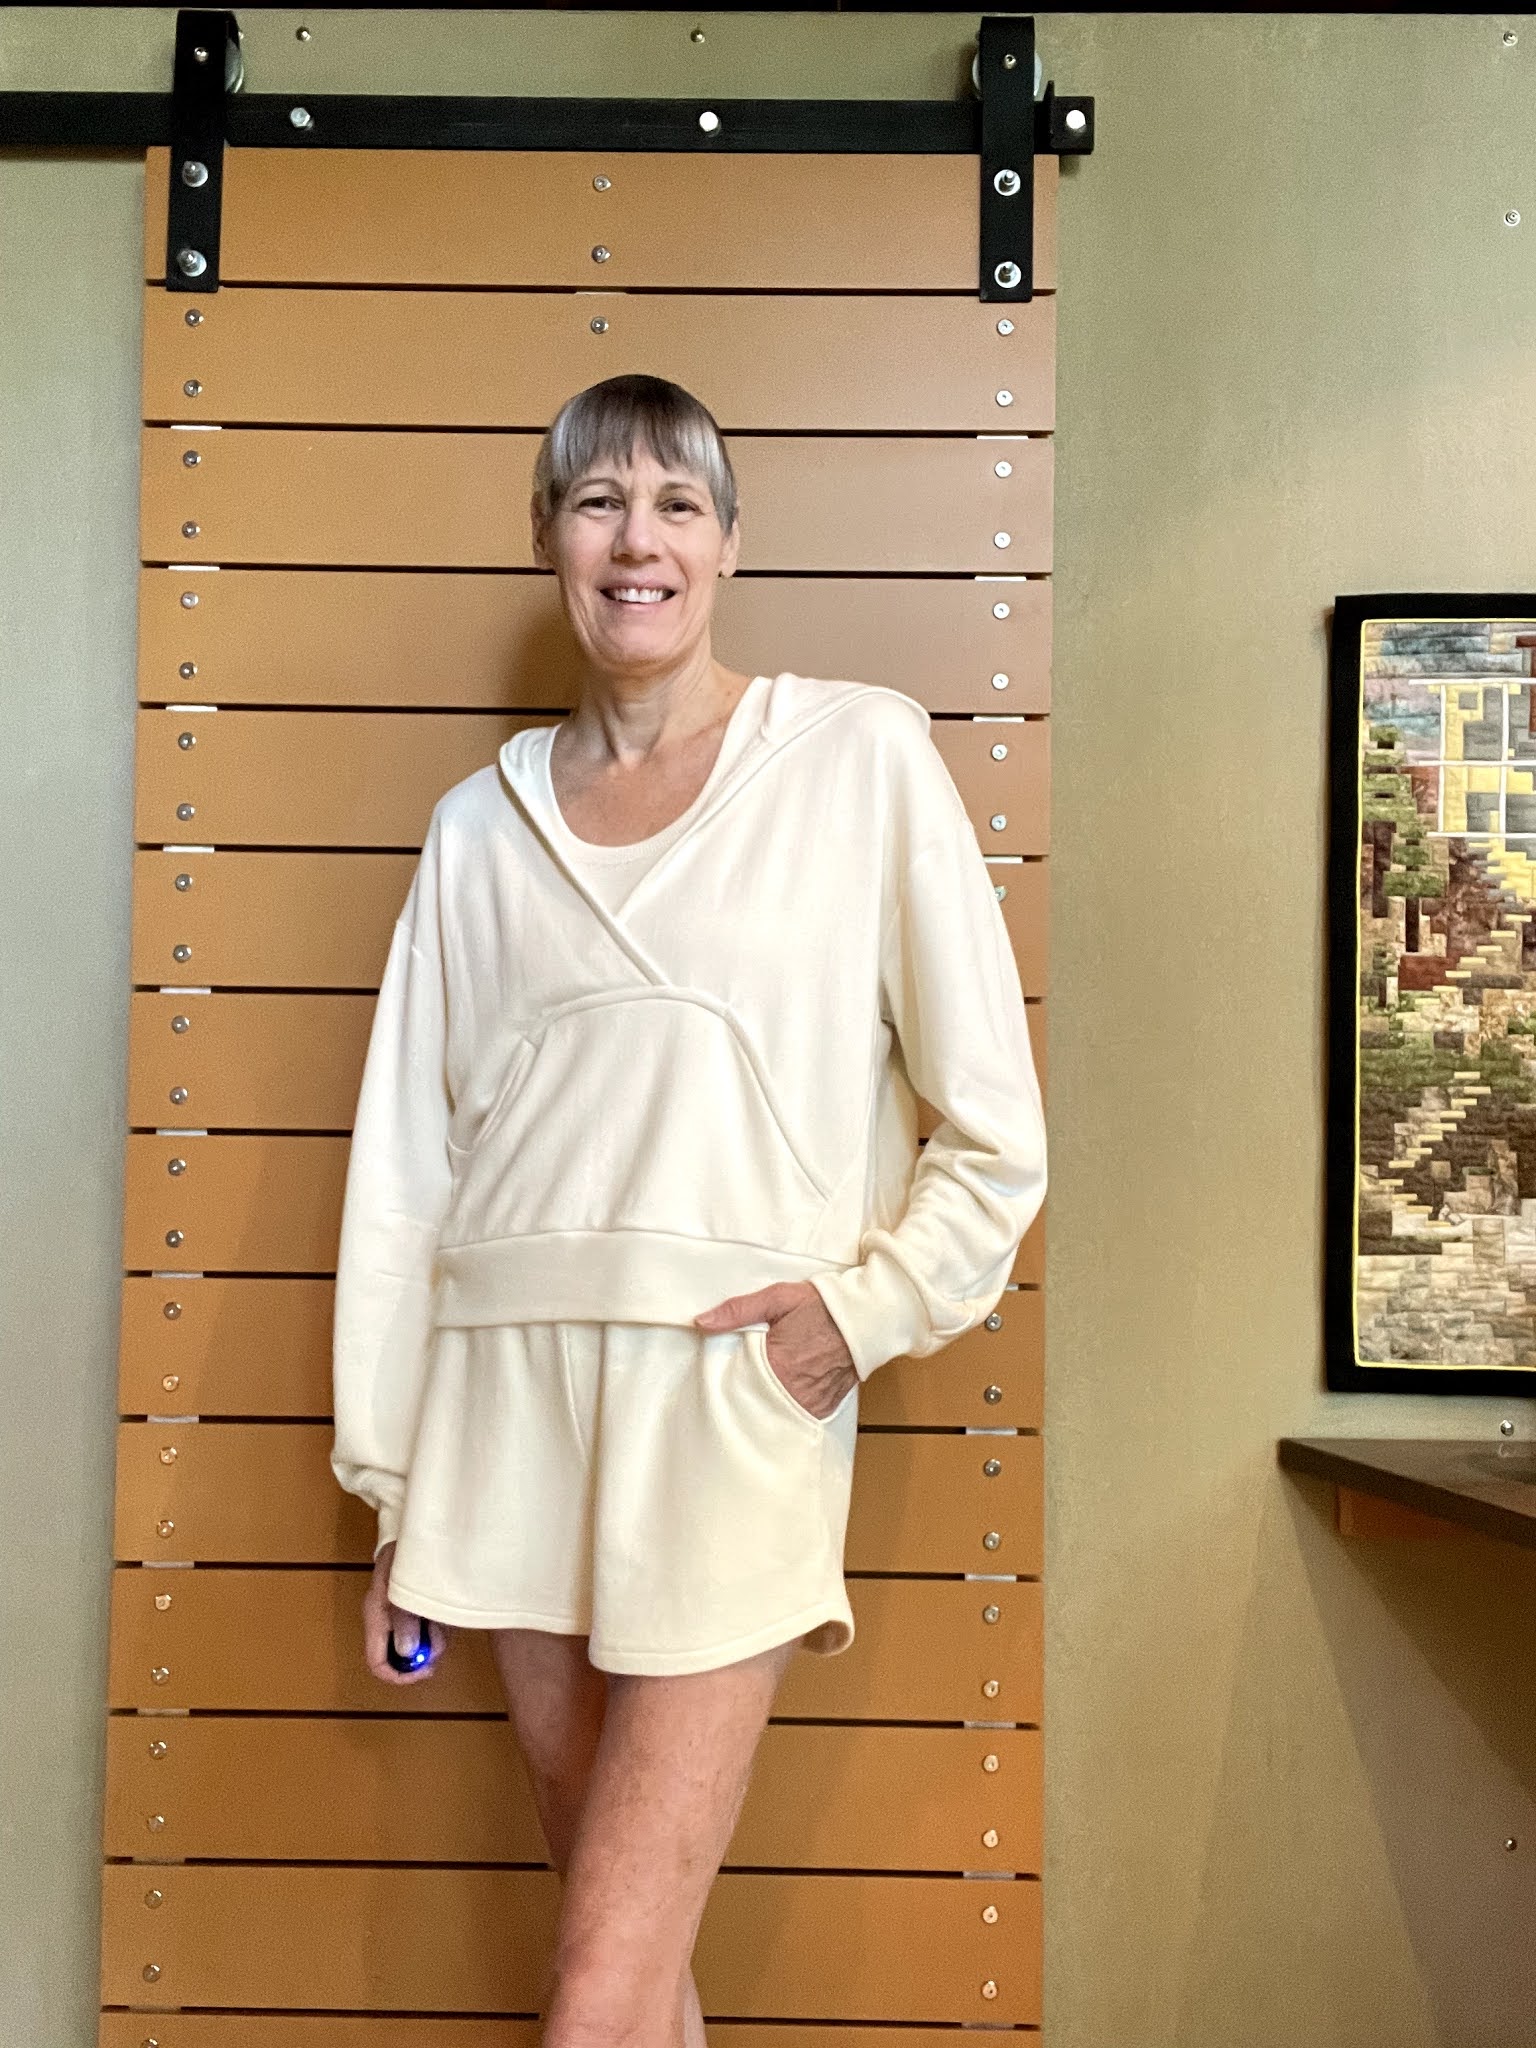
I really liked the Closet Core patterns that I tried in March so I got them out again.  My plan was to make the sweatshirt, but with a little wiggling I managed to get a pair of shorts and a tank top as well.  I got a really lovely rayon French terry in a creamy white and a matching rib knit for the bands.  It is soooo luxurious.  It has a bit of sheen and amazing drape, I feel very special when I wear it.


The tank top is a self drafted pattern.  Basically, I cut arm holes into the sides of the circular ribbing fabric.  It was a bit of an experiment, but I am happy with the results.  I like the neckline of the tank under  the sweatshirt which has quite an open neck edge.


The patterns are quite oversized and while I like my new shirt and pants, I think I might go down a size or even two for the next go round with these patterns.  They feel a bit overwhelming!  I really like the way the pockets and side seams are done on the pants.  It was a bit of a head scratcher the first time, but once I figured it out, it was very slick.  I'm not sure how many "lounge" outfits I'm going to need now that we are coming our of Covid hibernation, but for now I am loving these cozy pieces.  ...on to June!


4.10.2021

Hello Lounge Lizard!

 I finally succumbed!  I have been trying desperately to hold onto some semblance of publicly acceptable clothing, maybe thinking that I might suddenly need to go somewhere!? 😆 But when I saw the latest pattern introduction from Closet Core I dove straight into the "loungewear" pool.  Who was I kidding anyway!  I have been wearing the same yoga pants and tank top  everyday and frankly, could use some newer, nicer versions.  So when I saw they were available, AND in a sale bundle, I ordered them up!  I had also ordered a few yards of a really nice light weight fleece from Emma One Sock a few weeks ago with nothing planned for it, and thought it would be perfect for the hoodie and joggers.  (Joggers is the new name for what I wore in high school and called "sweatpants," much cuter name and allows an old lady to feel cool and with it! or 'dope'?!)


Since most patterns that I have used need quite a bit of manipulating to get the fit right for my body, my usual first step is to make a 'trial balloon' hoping it will be a wearable muslin.  More often it becomes a chopped up mess of alterations.  I didn't have another piece of fleece to play around with so I decided I would just go for it and if I needed to get more fabric, well, I knew where it had come from!  

I checked out the pattern measurements and figured I would make a size 10 for the joggers and, because the sweatshirt was pretty generously sized, a size 8 for the top.  I did add my normal 3" to the length of the sleeves and the pants, but other than that I cut them straight out of the envelop, with my fingers tightly crossed.  

I realized as I was laying out the pattern pieces that, if I was very miserly, I might just be able to get the shorts cut out as well.  Challenge accepted!  I think I spent longer wiggling pieces around than I did sewing them up!  But, with a few other adjustments, I managed to get the hoodie, the joggers AND the shorts!  How...?

I had already decided I wanted to add a ribbing to the edge of the hood.  The pattern suggests turning the edge under, but I thought a ribbing would give it a bit of tension to keep it from falling too open.  I was thinking I would just use a strip of the fleece, but now that I was in conservation mode, I went looking around for something else to use.  The only thing I had on hand was a slate gray knit, but it looked great with the fleece.  Once I introduced the second fabric I used it for the waistband of the shorts and trimmed the pockets of the hoodie and the shorts so it became a "design detail." (if you do something 3 times it's a design detail not a mistake!)  I also cut the pocket bags out of a light weight linen.  It actually worked really well.  It reduced the bulk of the pockets and stabilized them at the same time.  I reduced the pocket bulk some more on the shorts  by only making the back pocket bag and stitching it through the outside of the fronts.  And finally, I ended up piecing the back yoke of the hoodie.  I knew I would have to piece somewhere and figured the yoke would be under the hood most of the time.  I lined the yoke with a piece of an old T-shirt to keep all the seams from being too irritating across my shoulders.  As I was panning and making all these fussy maneuvers I kept thinking, "this is a lot of work for something that might end up a chopped up mess!"  
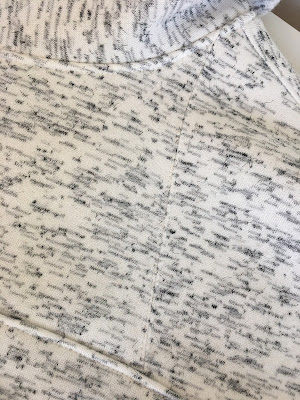

The piecing on the yoke is hard to see from the outside, which was kind of the point!


Well, you can see by the lack of in-progress pictures that I got carried away...again...and forgot to take one photo.  But, I did manage a few of the completed garments, which worked out to be amazing!  I am more than pleased and surprised at how well they fit and look.  I didn't even have to adjust the crotch curve!!!


Whoa!  Where'd those crazy yellow duck shoes come from?!

Now I am wondering why it took me so long to embrace the loungewear trend...but I think there will be more lounge lizarding in my future.   And some more Closet Core patterns as well. 😉


4.19.2017

A Twofer Hoodie

  I really like the lines of Marcy's new hoodie pattern.  As she describes it... My new hoodie pattern keeps the functionality with a feminine dash of sophistication.  

I decided to give it a go!

I did have to make a few changes...
-I lengthened the sleeves, of course
-I dropped the waist so it lined up with mine
-Marcy had the pockets follow the line from the back waist seam around to the front, which is a nice design detail. But I found the opening a bit awkward to get my hand in comfortably, so I changed the angle of the opening to be more like a traditional hoodie pocket.
-I took a bit of fullness out of the lower back section


I made a few more changes when I selected the fabric that I wanted to use from my stash.  As usual, I was a bit shy of the required yardage. (go figure!)

-I shortened the hood just a tad to conserve yardage.
-I cut the sleeves in two pieces...the main sleeve with the grain going the 'right' direction, and a cuff with the grain going in the other direction.  Again, to conserve yardage.
-I cut all the seam allowances to 3/8 inch
-I made the front facings a bit narrower...and was able to get all the pieces I needed. Whew!


The fabric that I chose is a stable, wool jersey (think ponte in weight), that was a lighter taupe/gray on one side and a darker version of the same color on the reverse side.  I couldn't decide which one I liked better so I decided to make the hoodie completely reversible.  (Which of course would be a great thing to know BEFORE cutting out the pattern!!!!!)  

Most of the details worked just fine for a reversible jacket.  

I decided to finish the lighter side by opening and stitching down the seam allowances.  Since I had already cut them to 3/8" I had to be careful to keep the seam allowances straight, no trimming allowed!  I used a thread that matched the darker side so if my stitching was a bit crookity it wouldn't be obvious.  I used a zigzag stitch to sew down the seam allowances.  

To reduce bulk, I used raw edge construction with zigzag stitching on the pockets and facings.  Figuring out how to place the interfacing for the front edges was a bit of a challenge.  I pressed it onto the light side and folded it so the dark side formed the front facing.  The hems were done the same way.


I really don't like the "standard" reversible button and buttonhole configuration, with a button sewn right next to the buttonhole.  I find it clumsy and not very attractive, and difficult to use.

I decided that snaps would be a more aesthetic solution.  I use Snapsource snaps.  Not only are they a great product, they are made by an inventor right here in Michigan!  Snap!

Instead of using the plain silver ring on one side of the snaps, I used the decorative head on both sides. I didn't realize it until I tried the hoodie on, but doing the snaps this way means the closing is right over left on both sides!  Sweet!


 The pockets were probably the most challenging design detail of the project.  

I had cut the 'patch pocket' for the original pattern before I decide to go completely reversible.  I didn't have enough in the scrap pile to make a second set of patch pockets for the reverse side, so, I made the patch pocket an inch taller by adding a binding to finish the top and I made a large "bound buttonhole" that is just a bit lower than the top of the patch pocket so it doesn't show from the other side.  I do have to be careful to get my hand into the pocket and not drop my tissue through the other pocket opening!


It was quite an engineering challenge, but fun to figure how to make both sides of the hoodie work.  

No worries about what to do with the leftovers!

And, I still don't have a favorite side!