Showing posts with label petersham ribbon. Show all posts

8.24.2021

Is the Third Time Really a Charm?

This story starts a few years back....like, 5 years back....

I had a piece of decorator linen that was probably too big of a print to be a dress, but every now and then I get this urge to upholster myself and...well...there you go!  I made a dress!  It actually wasn't all that bad.  I cut it on the bias to give it a bit more shape and strategically placed the "too big" flowers so they didn't end up glaring out from inappropriate body parts...😲😳 


I added a tweedy linen hem to get it to maxi dress length and it was fine.  (can you hear the 'but' coming?)  BUT, I never wore it.  It was one of those garments that hung in the back of the closet and never found the right occasion.  I liked all the individual parts...the fabrics, the details, the colors, the design...but all together...meh.  


After it had hung in the closet, forlorn and forgotten for a few years, I thought maybe if it was a short dress I might actually wear it once in a while.  So I hauled it to the sewing room and whacked it off to knee length.  Obviously that was not the solution because it didn't even stay around long enough to get a picture!  I can't even remember where it ended up, but the short version didn't pass muster either.  

Fast forward to last week...

What do you suppose I found on an excursion into my linen scrap box?  Seriously?!  Yep, there was the chopped off hem!  OK, why not...I still liked the fabrics and colors and the ribbon detail I had done on the hem was quite nice. I hung it on my dress form, upside down...and doggone it if it didn't decide that it wanted to be a tank top!  Go figure.


Along with the hem I had enough scraps of the original fabric to make straps and just like that...a top!
Whether or not this third version ends up being THE ONE, it has been fun to keep reimagining it.  We'll see if the story continues....


10.25.2019

A Little Bit of Fall Color

Like all of the seasons this year, Fall has been a bit different.  By this time in most years we would be enjoying blazing red maples and golden oaks in every direction.  But things are staying pretty green and I'm thinking we may just go from green to bare on the first blustery day.


I did get the chance to take in some fall color on our recent road trip around Lake Huron.  Our color timing was perfect  as we rounded the north end of the lake in Ontario.  Crisp mornings, sunny afternoons, a bit of rain just to remind us that winter is just around the corner.  It was just the break I needed and really got me in the mood for fall.  And fall sewing.


I'm never sure which is my favorite...'wool season' or 'linen season.'  I guess it depends which end of winter I am sitting at!  But right now I am all about the wool.  For several years now I have been saying that I need to make a new travel jacket.  I have a Michael Kors black wool knit jacket that I have worn for years when I travel.  It is just the right length, just the right weight, I can sleep in it on the plane and then wear it out to a fancy restaurant...it just works!  However, it is starting to show the years and the miles.  I realized that I will keep on wearing it unless there is something to take its place.  I'm heading out to Sonoma for Thanksgiving so I decided that now was the time to get 'er done!

It wasn't that hard to find a candidate in my stash.  I collect wool jerseys the way quilters collect fat quarters, so I had plenty of options.  I chose a bottle green wool jersey that is quite heavy.  I hoped that it would give me the tailored look that my old jacket has without having to add much structure.  I had made the Merchant and Mills Ottoline (read about it here) jacket earlier this year out of an Italian linen and really loved the style and fit.  With a few tweaks I knew I could make it work for the travel jacket I had in mind.  Because I had such a specific idea in my head I was a bit nervous about whether I would end up with what I wanted or end up disappointed and still wearing my old black jacket.  But I am happy to say that it turned out just great!  I am so pleased with it.


First Ottoline on the left...second Ottoline on the right.  There is a family resemblance!

I did start with the Ottoline, but made quite a few changes.  I put a zipper instead of buttons.  I didn't even consider trying to put button holes in the heavy jersey.  I covered the zipper tape and the collar seam with a narrow Petersham ribbon to finish the inside since the jacket is unlined.  I used snaps at the cuffs and vents, again to avoid button holes!  I lengthened the jacket to just cover my tushy, which is one of the things I like about my old jacket.  The pockets have a round corner and a square corner and I added little brass rivets for fun.  And there is a little baby 'pocket' on the back yoke.  I used a lighter weight wool to line the yoke so it wouldn't get too bulky.


I can't wait to try it out on my trip to California.  I think it will be just the ticket!

While I was in the travel mode I decided to try and make a version of my go to travel shirt.  I have a whole drawerful of Smartwool quarter zip shirts that have become the only shirts I pack anymore.  Again, perfect weight, go wherever I want to go and so easy to wash and dry on the road.

For my shirt I found an absolutely gorgeous cranberry colored jersey.  Again I was nervous that I wouldn't get what was in my head, but the sewing Gods were watching out for me and it is just what I I had in mind.  Two for two...it was a good couple of sewing days!

Most of my Smartwool shirts have exposed zippers, but the only zipper I had that matched was an invisible one, so that's what I used.  I had to put a seam in the center front to accommodate the zipper and I really like the finished look.


I'm pretty proud of the matching job I did at the center front collar seam and I didn't even get one of those annoying dimples at the bottom of my invisible zipper!


I had such great success with my two new travel pieces that I am working on a third...it's a dress that I think I can wear as a jumper with the shirt...we'll see if the sewing Gods hang in there!  They do say three's a charm!  Even if the dress crashes and burns, I am ready to roll with my Smartwool quarter zip and my wool jersey jacket.  Bring on the TSA!


2.24.2019

Shifting Gears

Soooooooo.......What happened to the Tweedy Sweatshirt Sew Together???????  Well..........

Rhonda was spending time at her 'western address' and all of the things she wanted for tweedy shirts were piled up at her 'eastern address' and she hadn't made the transfer in time for a February plan.  Life and circumstances often have other plans...so we decided to table the rest of the projects and make a new plan later in the year.  So stay tuned...we may get back to tweedy shirts, or we may jump into a new season with another idea.  Whatever it is I know Rhonda will make it challenging.  That's just how she rolls!!

Since I didn't have another sweatshirt deadline this week I just kind of lazed around.  I finished a sweater that has been waiting for sleeves since this summer (I'll take a picture at some point!), I tried out my new snow shoes, what a hoot,  and rearranged the bedroom furniture, not a hoot, but way better! (now I just have to get the little dents out of the rug!) 

I did do a fun little project at the end of the week that I will share...

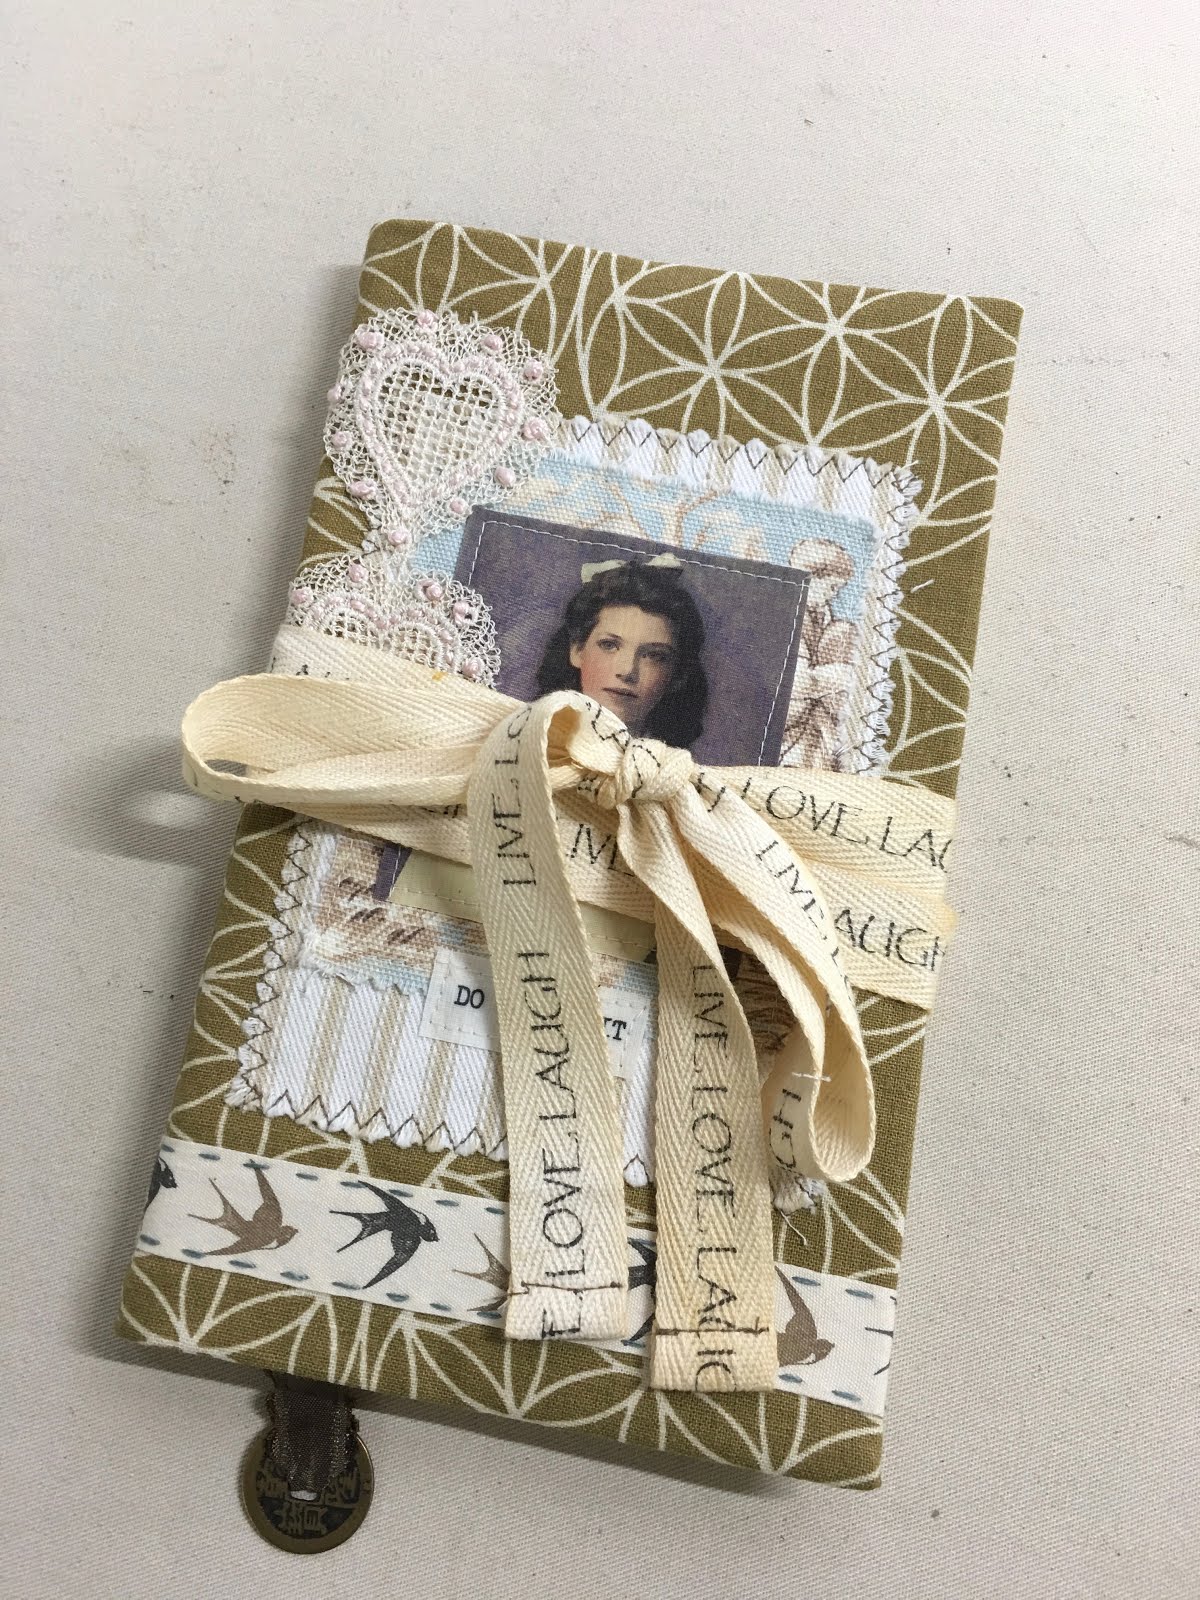
A dear friend was having one of those pesky "zero" birthdays and I wanted to do something special that didn't involve anything 'old' themed!  She has started keeping a journal so I made a cover that she can use for standard sized Moleskine journals.  I collected things that would have some connections for her...


...the little picture was collected at an art fair on Key West.  A place we have shared together.  The ribbon came from Taos, a place we both visited last year, although at different times, the other bits and pieces came from my 'inventory'!

I felt pretty ingenious with the pattern I came up with.  It ends up creating a lined cover with flaps that fold in, to hold the journal, all with just two seams!  I love it when there is a simple yet elegant answer!

I started with a length of fabric that was 6 times the width of the journal plus a 1/4" which was the width of the spine.  I folded the ends in to just meet at the center and then folded the "flaps" half way over the front and back of the cover.


Here's the part that may be a bit confusing....keeping the flaps folded in I reversed the first fold so the inside and outside of the cover were facing each other....


Then I just stitched across the bottom and the top, trimmed my corners and refolded everything to the outside.  I added a ribbon 'bookmark' and covered the inside spine with a piece of petersham ribbon.  It really turned out great.  I may need to make one for my journal!


I did do some fun embellishing before all the folding and sewing...I finished it by adding a tie to make sure all her secrets stay safe!


Even though it is the middle of winter outside, I seem to be dreaming of linen and T-shirts so next week I may shift gears and see what springtime projects I can scare up!  I think pulling out the linen scraps for the journal cover may have started something!  😀