Showing posts with label Style Arc patterns. Show all posts

3.08.2021

Gone Fishin'

 I am quite excited about my white shirt challenge, which is basically an excuse to order up a whole bunch of white fabrics.  I find a lot of inspiration from actually holding and draping the fabric, so until my box-o-yardage arrives I will have to find other projects to keep me entertained.  

When I was at my fabric store hunting up stuff for my first white shirt, I couldn't resist a cotton print that was perfect with a piece of batik that I had hauled with me from Michigan.  I also found a really soft dark chambray that had to go into the backpack as well.  I was on a roll after my shirt so I pulled them out.  I can't remember where or when the fish fabric came into my stash, but it seemed like a good one for KW.  When I saw the greenish one with "water drops" on it, I thought it was meant to be.

I only had a 1/2 yard of the batik and the same of the water drop print, so I needed to pick something that wouldn't need much fabric.  I have been wearing an Ethel Designer Top (Style Arc Patterns) a lot since we got to Key West and the design lines are perfect for mixing and matching.


It's a pretty straight forward project, figuring out which fabric to put where took longer than actually sewing it together!  I  used the selvedge of the water drop fabric to accent the triangle piece of linen at the neckline.  The batik is a really nice weight for this top, the cotton is a bit heavy but I think it will be OK.  Note to self, choose very soft, drapy stuff for the next one.

I didn't have much in the way of scraps when I was finished.  Pretty close to a zero waste project!


When I washed the chambray it turned out really soft, but felt more like shorts than a shirt.  I can't remember the last time I have had a pair of 'denim shorts' ....

I started with my PJ bottom pattern.  The softness of the fabric meant that an elastic waist wouldn't be too bulky, not the usual case with denim shorts.  I made some fun pockets, which are impossible to take photos of...trust me they are adorable!  Back pockets...

Front pockets...


Another pretty straight forward project, although I did struggle to get the length right.  My husband kept rejecting them as "too long."  (He's admittedly a leg man 😏)  I did want a pair of 'shorts' after all.


...And they look great with my fish shirt!  Score!


Now I just relax until my white fabric shows up!

9.23.2020

A New Crop of Tops

 After my last post I realized that I have been whining and stalling all summer!  I keep making lists and refolding my pile of fabrics...definite signs of a major stall happening.  After the flurry of tops I decided I was on a roll so I should just keep it going.  So here is a whole crop of tops, but these are from the Key West pile.  

Since I was on a Susan Eastman inspired journey, I made a Michigan/Key West crossover top.  A mix of my Michigan mud colors with a few hints of my new ocean inspired colors.  I like it, but not sure if it will make the cut for Key West.  I think it landed somewhere in Tennessee!  


The pants in these pictures were the first thing I made from the pile.  The fabric came from Merchant and Mills as did the pattern.  They are my favorite Eve pants.  The fabric is a lovely teeny tiny hounds tooth check linen.  I really liked the selvedges so made them a feature on the pockets and the waistband.  I truly adore the way these pants fit and feel.  I wear them all day and they are comfy like my knit pants, but I feel so much more 'dressed' in them.


The first top from the pile is also an M&M pattern.  It is the Factory Dress pattern but made into a top by leaving off the skirt.  I think they actually have done a pattern release of a top variation, but I just make the top and "forget" to make the bottom!  The fabric is the softest aqua color I have ever seen with a twin grey thread stripe.  It just screams ocean to me.  I got it when I visited Italy a few years ago.  The stripe is actually on the cross grain, which is a bit unusual for a woven fabric.  I like this version but have decided that I prefer it without the bust darts.  It is roomy enough that I don't think I need them and the extra volume also makes the hem circumference a bit much.  I did a mock up using an old tablecloth to see if my fiendish no-dart plan would work and I think it's a winner.  The next time I make the Factory dress or top it will be dartless.

The Factory Dress from Merchant and Mills


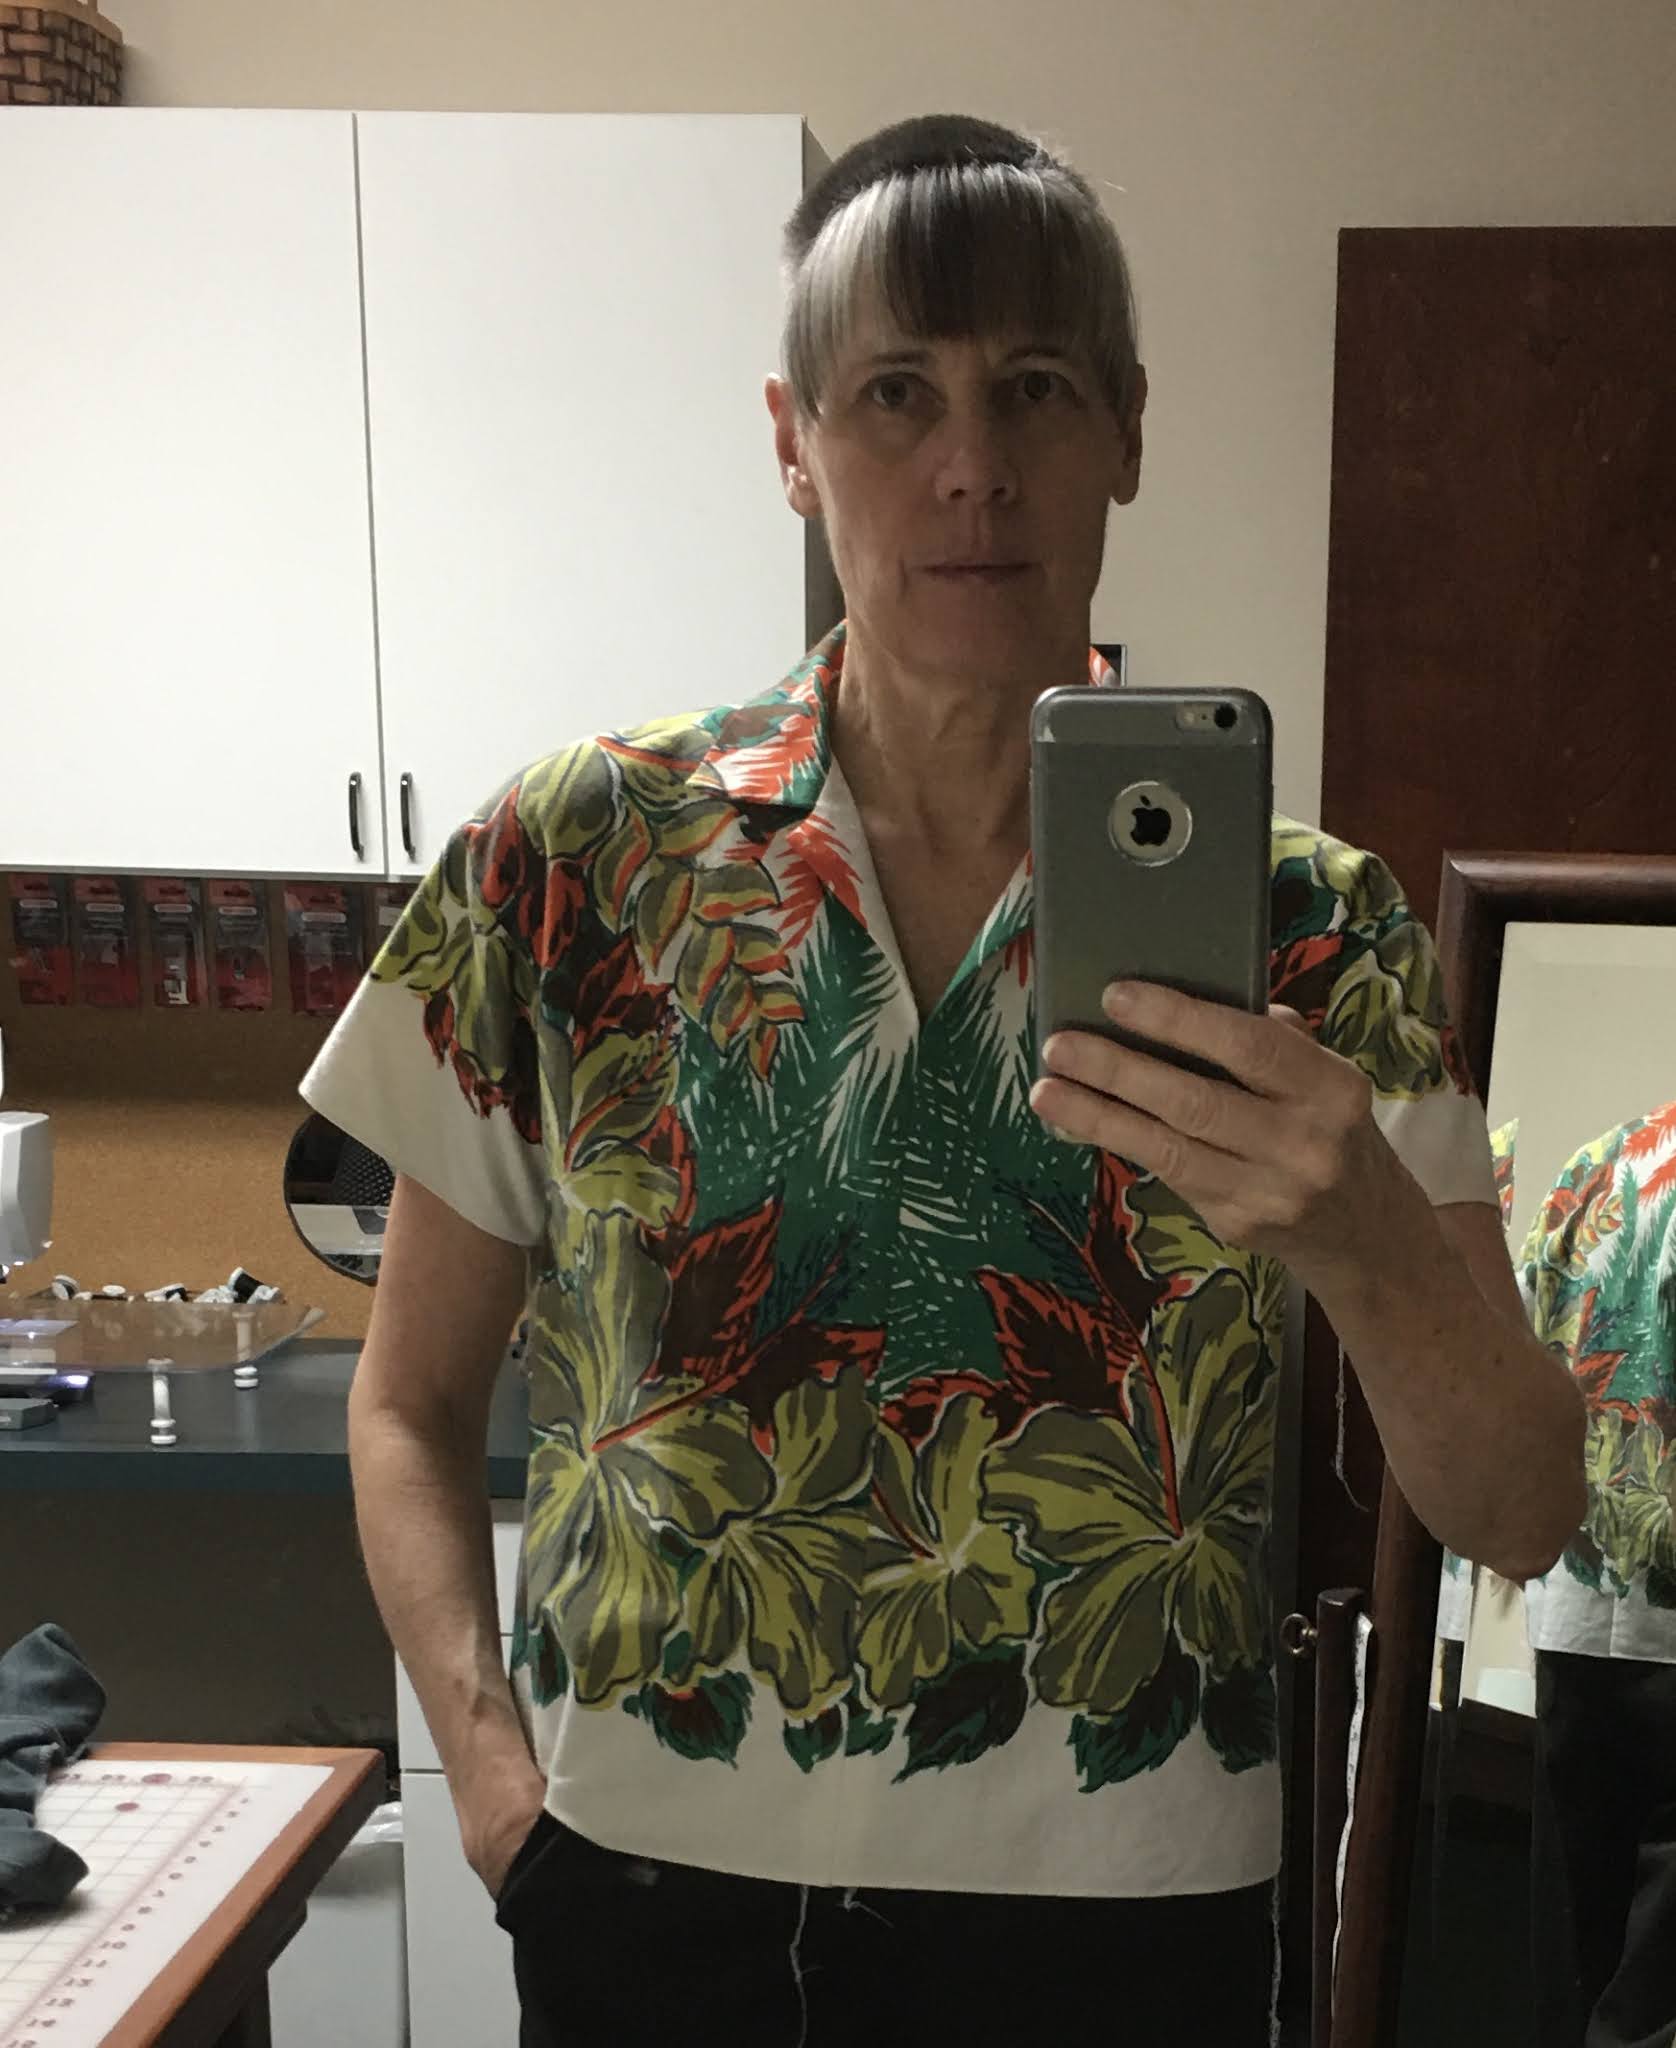
The next top is a pattern that I got a while ago but never made up.  It's the Monty Dress and Shirt from Style Arc.  I have used several of their patterns and find them to be drafted with me in mind.  The shoulders are usually generous enough and even the sleeve lengths are closer than most patterns.  I did quite a bit of messing about with this, so you might not recognize it from the pattern envelope.  The original had a front yoke and was very cropped.  I was using a big stipe print and thought it needed more space to really show it off.  I added a dropped back yoke with gathers to add some volume at the hem.  The rayon fabric really moves well and the longer length gives it a lovely flow.  I think this is going to be a favorite.  It feels like it will be perfect for hot sunny weather.

I spent an inordinate amount of time matching the back yoke and absolutely no time on the center front.  I just got really lucky with the palm placement at the center.  Whew!

The Monty Dress and Shirt from Style Arc Patterns


OK...last top!  (did you notice how nicely they all go with my Eve pants?!  I may need to make at least one more pair of pants so I can swap them out for laundry day!)

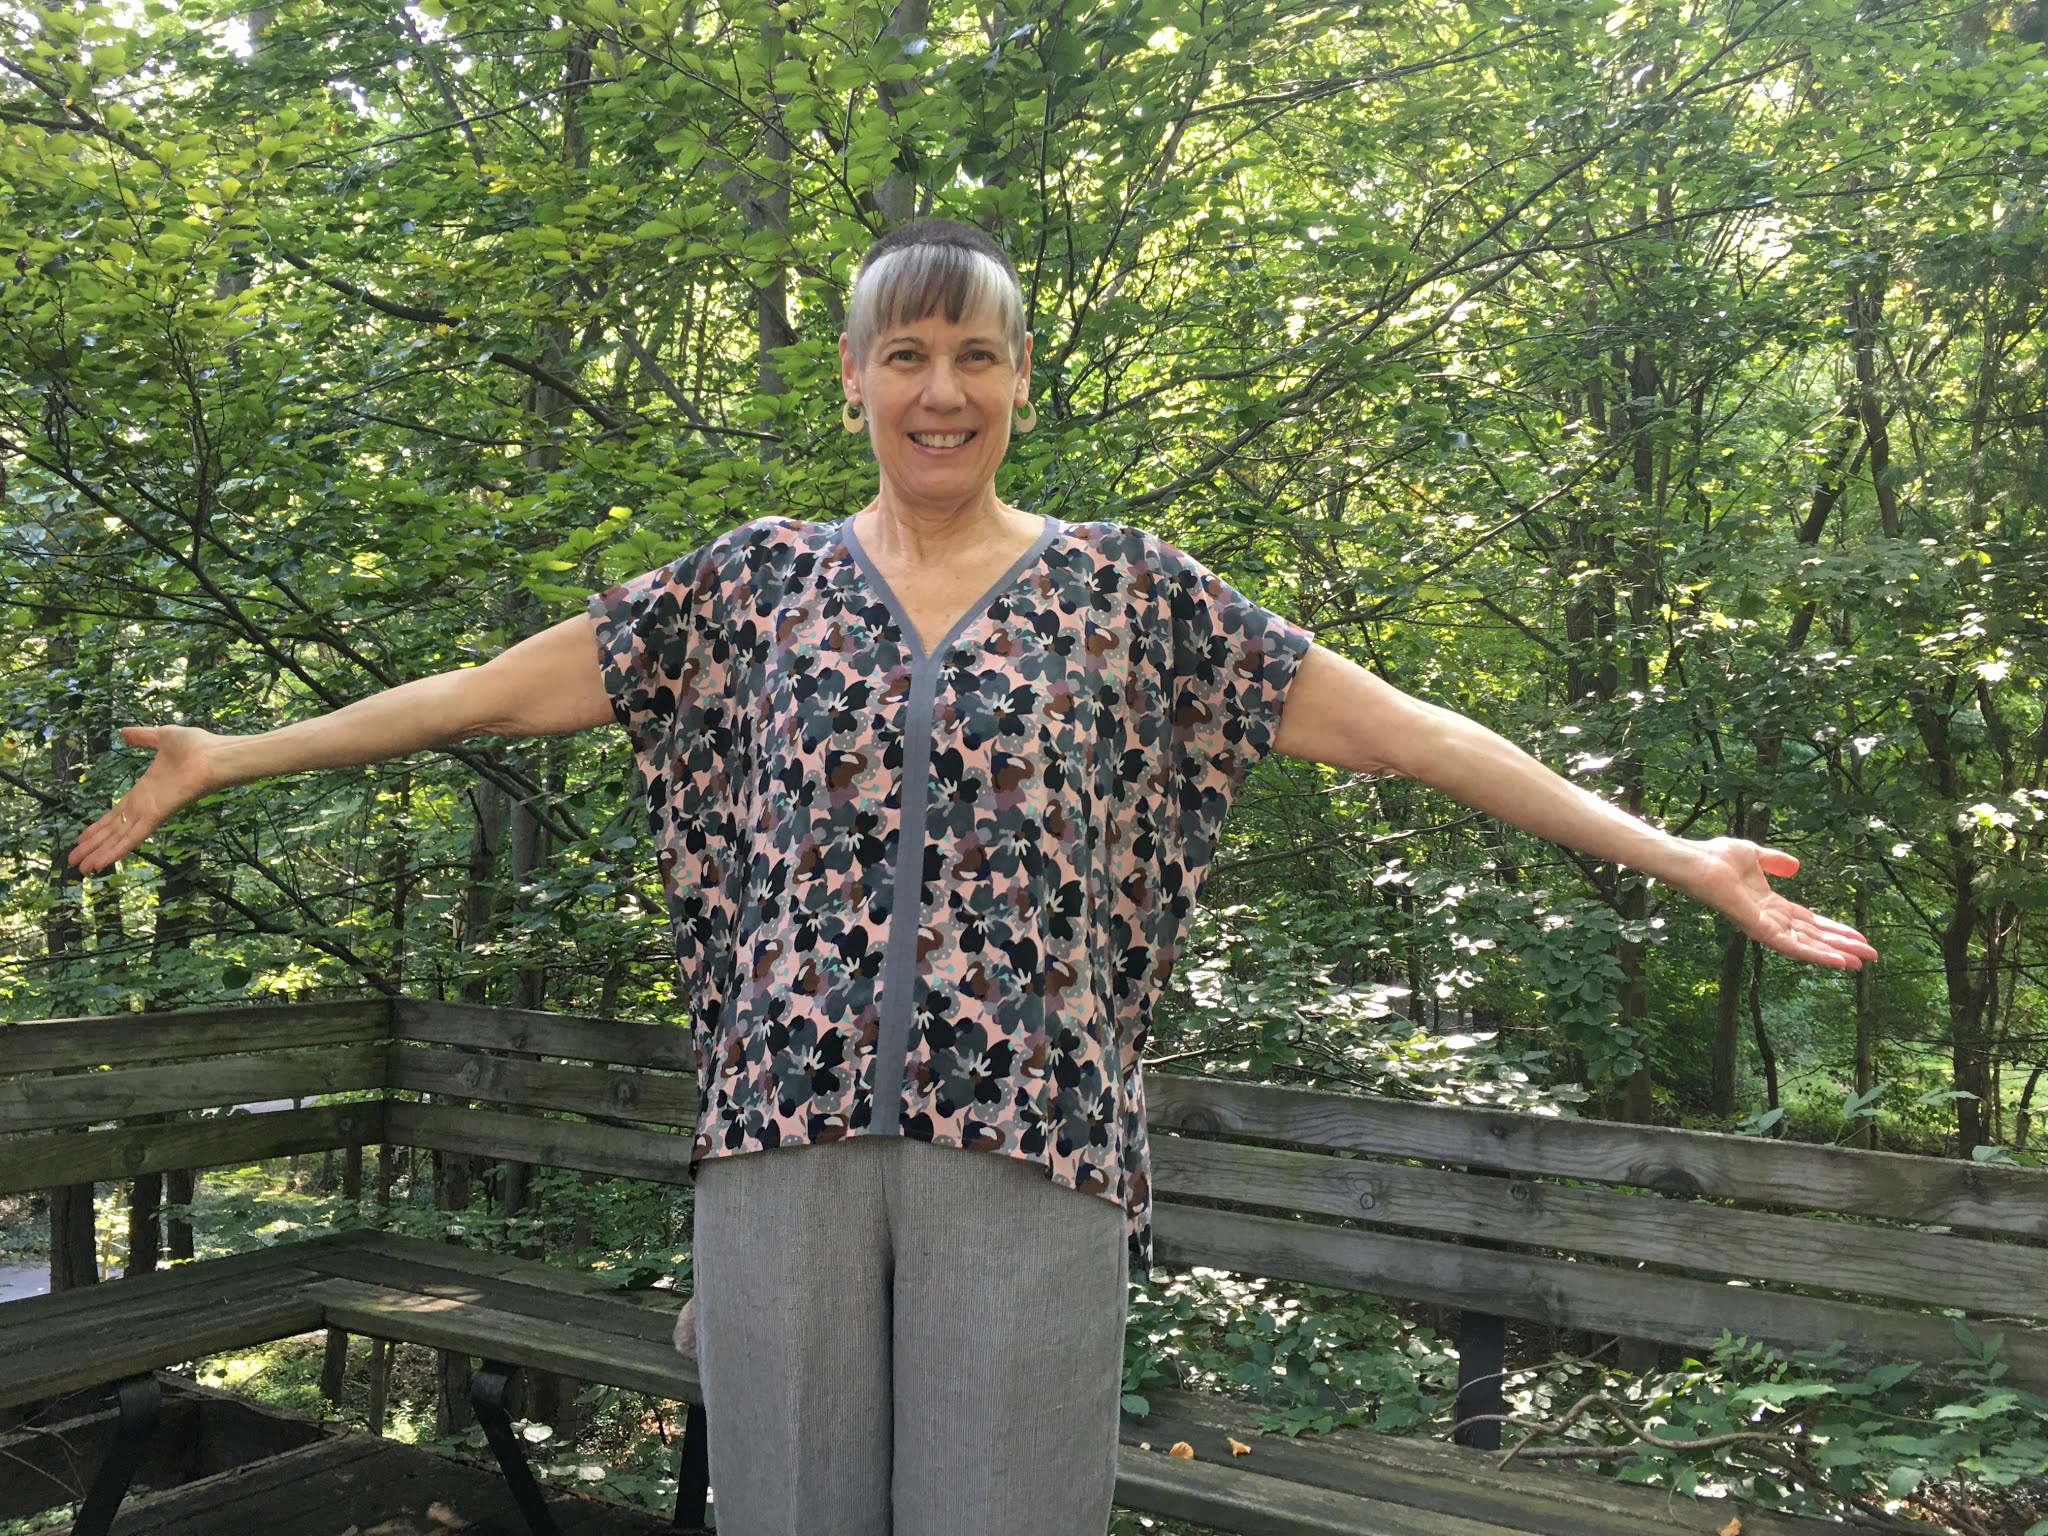
This top is a version of my square shirt that literally doesn't touch my body when worn!  The perfect top for really sweaty days!  The loose open sides let the breeze in and the light Liberty silk absolutely floats.  


Finally, I made a maxi length T-shirt dress.  I built a bra into the top which makes it really comfy.  I think this will be just right for after the beach.


Whew!  A flurry of summery stuff.  It feels good to be making my way through the pile.  It's a bit odd that just as the weather is saying corduroy, I am hauling out the silk and linen!  I have a few more things that I'd like to do, but I am pleased with my progress.  I'm also enjoying working with some new colors.  Now that my hair is more grey than brown, I think the soft grays and aquas will be nice, and more at home in Key West than mud.  👍


4.22.2020

Curbing the Cute!

Right now the idea of making new clothes to wear...anywhere...feels strange.  It's not like I needed to make new clothes before the virus took off, so I'm not sure why it feels so different now.  I obviously have plenty of time and fabric, but...meh...not so much desire or inspiration.

Usually this time of the year I am consumed by the need to make something that is "too-cute-for-its-own-good."  Some pastel confection that seems like a good idea in the moment and almost as quickly gets relegated to the donation box!  (It may be a bit of a silver lining that I haven't succumbed to the usual cutsie outfit.)
If you have been around for a while you might remember some of these....


Yep!  Too cute!  What was I thinking?!!  Most of them were fun to make, but....yikes!  I'm telling you, it's a spring thing.  So the fact that I haven't been bitten by the cute bug might be OK.

Before I left for Florida I had set out a piece of fabric that I have been wanting to make into a coat.  I thought it would be a great project to come back to and hit the ground running.  In February there would still be plenty of cold weather requiring a nice wool coat.  Well, fast forward, we now know that 1.  I won't be needing a wool coat in Key West, and 2. I'm not going anywhere right now!!!!  Coat or no coat!  So the idea of making the coat kind of fell flat.  But last week I was still thinking about the plan I had for that fabric.  I decided, what the h--l, just make the coat, what else have you got going?

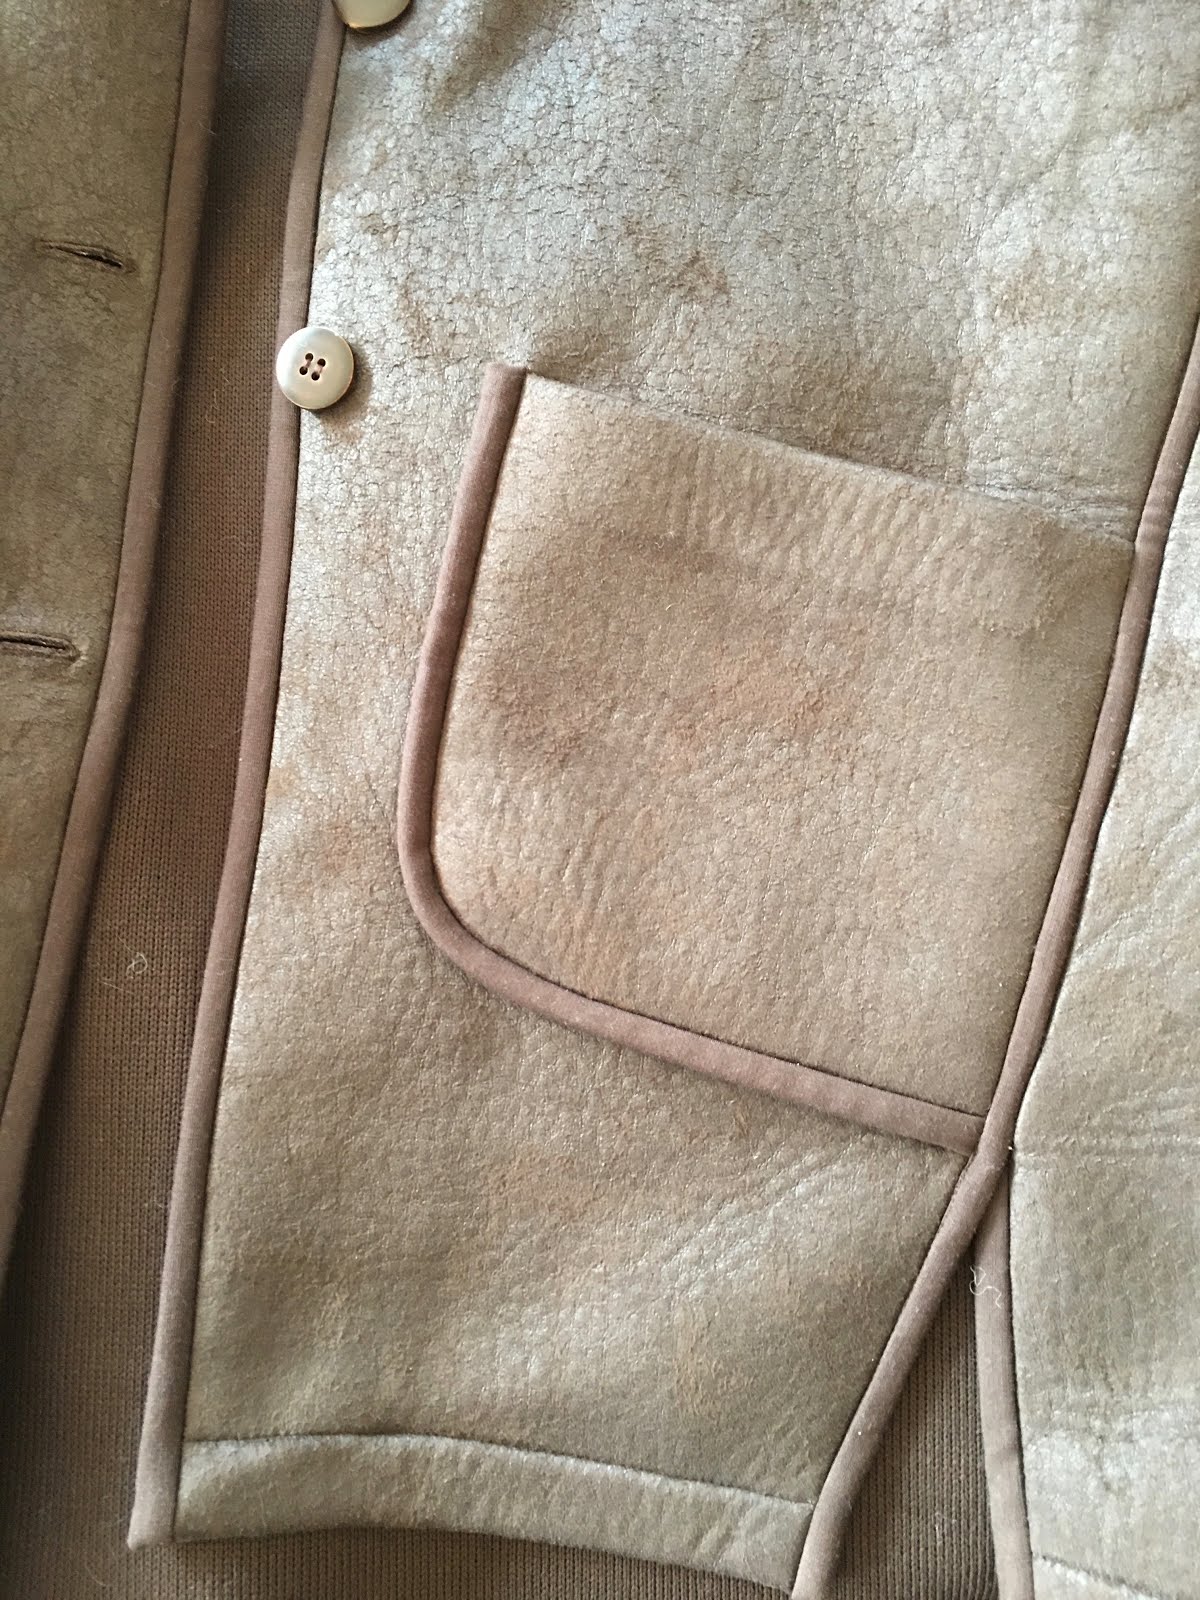
The fabric is very interesting.  It's a knitted wool that has a faux finish on one side that makes it look like distressed leather.  The texture is firm, but has a soft feel that makes it comfortable to wear.  I thought the knit side would be fine on the inside with no lining so I decided to bind the seams and edges to finish the coat rather than making facings.  I started with a pattern from Style Arc that I have made before...

Remember this one? (You can read about it HERE.)


I have worn this coat a lot and really like the weight and the styling.  For my new coat I swung the side seams forward and added patch pockets.  I used the reverse side of the fabric to make the collar and cuffs.  


And it was definitely spring in Michigan when I was taking these pictures...bright sun in my eyes one minute, and it started to snow in the next!


I went from 'why do I need to make another coat?' to 'Hey, this is pretty cool!'  I am glad that I went ahead and made the coat.  I may not wear it often, but, unlike my other too cute spring projects, I won't be sending this one to the thrift store...at least not this spring!

PS...If you noticed that my newly installed Instagram link is no longer there, you are very observant!  After wrestling with it for the last week or so I got a note from the "Widget Police" that "your monthly views have exceeded the limit for the free version of the app, please upgrade to a monthly plan."  First of all, thank you!  I am so glad you are tuning in occasionally and hope you are enjoying the posts. and Second, please feel free to visit my Instagram page, though you will have to get there on your own.  I decided you all are smart enough to do that without a monthly fee.  Enjoy!
The name is: Beckysewsalot


8.02.2019

Going with the Flo!

I'm so excited!
Rhonda (Rhonda's Creative Life) and I decided to do another "sew together."  If you remember the last one got interrupted by Rhonda's icy tumble in February, which resulted in a broken wrist!  Ouch!  She is all healed up and ready for a month of sewing.

Rhonda suggested that this August we get to the bottom line and do four weeks of pants.  That's right...pants.  I have been sewing for, well, a really long time and pants are still the toughest garment for me to fit.  Just thinking about crotch curves fills me with anxiety...cue the horror movie music!  But we have some fun things planned so maybe it won't be too scary.

Here we go...week one:  "Getting to the Bottom Line"

This week is about our favorite pants pattern.  The one that we have been tweaking and fussing with forever!  I would like to say that my particular fitting opportunity with pants is something that has happened as I've gotten older, but if I am honest, I have always had a pretty flat butt.  Yep, I have never really filled out the rear view.

The problem usually shows up as a whole lot of extra fabric at the top of my leg...where a butt is supposed to be...figuring out how to remove the extra folds of fabric has been an ongoing challenge.  But, last year I read a blog post and the writer was raving about a Style Arc pants pattern, The Barb Pant.  I decided to check it out.  I was just about to pop it into my shopping cart when another pattern caught my eye.  It was the pattern that I have been searching for...cue the heavenly music!  Honest to goodness it is called, "Flat Bottom Flo."  Into the cart it went.

The Barb Pant

I haven't tried it...I got distracted by Flo...but the reviews I have seen really seem to be positive for this one.  If you have a butt, which I don't, this might be worth a gander.

I have tried several other Style Arc patterns and have found them to be consistently good.  The instructions are straight forward and they use some clever construction techniques that turn out a very professional looking garment.


Here's another one I should probably try...The Becky Yoga Pant! 😉

(It is so easy to get distracted on the Style Arc website.)


Now meet Flat Bottom Flo. 😇

From the illustration she might not seem all that different from other pants patterns out there.  I have to admit my skepticism when I ordered it.  How many pants pattern rabbit holes have I been down! Here I go again!  But, oh, did Flo deliver!

I decided to try it straight out of the package, no changing, no monkeying around, straight up Flat Bottom Flo.  She rocked my world!  I have never had a pair of pants fit so well on the first round.  I had to sit down for awhile and let it sink in... could it be that I had finally found THE ONE?

While the first go was rather breath taking, there were a few of the usual suspects that needed to be dealt with.

One of the things that I figured out after many many miserable pairs of pants, was an alteration that changes the grain line of the legs.  If your knees bow out or knock together you may have experienced this issue.  It shows up as diagonal folds running across the front of the pants making them appear to twist around the knees and shins.  I tried all kinds of things to correct this and finally found this simple change in my Singer Sewing Book: Pants That Fit.


In my case, I needed to adjust for knocking knees.   Essentially the idea is to move the center of the pant leg to align with the center of my leg, which means I need to move it about 1/2 inch toward the inseam.  Once the lower leg of the pant lines up with the center of the ankle, a new grain line is drawn that corrects the hang of the pants and, voila! no irritating folds across the legs.  

This little 'personal problem' was not something that Flo dealt with, but having done it a million times, it was a quick fix.

So what, you may ask, is the secret that makes Flat Bottom Flo my new favorite pattern?  WELL...
I'm not sure I completely understand what is different, but here's my best guess.
(Warning:  you may want to skip to the end if you have a low tolerance for lyrical waxing about crotch curves!)

1.  The shape of the dreaded crotch curve!!!

Most pants patterns angle up from the crotch seam to the center back.  This is a great idea because it puts a bit of bias stretch across the fullest part of the bum and makes a nice comfy, sittable pair of pants.  But as I mentioned (did I mention?) that I have no bum to accommodate!  So, for me this arrangement ends up with droopy extra fabric across my backside.  Unattractive and vexing!  Flo has figured this out.  Basically there is no 'curve' involved, just straight up the back.  I had actually figured this out, but altering pants that already have an angled crotch curve usually requires not only changing the angle but then dealing with the extra inches that end up around the waist.  It sort of just moves the issue to another location!  Excellent work Flo!

(I know, I used black!  Hope you can get the idea anyway.)

The back crotch seam is basically a straight line.  Or as I like to refer to it, my "L" shaped crotch curve.

You might also notice that the seam angles down from the front to the back.  I don't know that this is particular to 'flat bottoms' or done to recognize the effects of gravity on our lovely tushies!  Anyway, Flo figured that one out, too.


2.  "Can I please just put a fisheye dart under my butt?"

Before I met Flo, I would finish a pair of pants and grab an inch, sometimes more, of fabric under my butt and say lots of bad words.  If I had been willing to live with a silly looking dart going horizontally across the top of my pant leg, I would have solved this problem years ago!   Well, leave it to Flo to think of it!  The back of the pattern is in two pieces, the main leg and a yoke.  This cleverly conceals the 'dart' so no one is the wiser, effectively pulling the #!%^*** folds of fabric up and out of the picture.  Well done Flo!


3.  "Does this pattern make my butt look big?"

One of the first things I noticed about the Flo pattern pieces was how different they were in the proportions of the front to the back from other patterns I have worked with.  There is WAY more back than front, which seems a bit odd if the problem we're dealing with is 'no butt.'  I have to admit that this detail is one that I have not quite figured out.  My best guess to date is that by pulling the side seam toward the front the hip curve that is usually built into the side seam, is eliminated, along with some of the extra fabric.  (If anyone else has a theory about this, and is willing to wander around in the weeds of pants fitting with me, I'm all ears!)  For whatever reason, it works.  Thanks Flo!

Check out the difference between the front of the pants and the back!!!  Whoa, can that be right?


...and finally...4.  Flo is designed to work with fabrics that have a bit of stretch.  She doesn't go all the way to 'negative ease' territory, but the close fit does allow some 'smoothing' to happen.

So there you have it...my way-too-much-detail analysis of my favorite pant pattern.

For this iteration I chose a woven stretch with good body and a fun houndstooth pattern.


If you have ever worked with stretch woven fabric before, you might have noticed that the stretchiest direction is often with the grain.  In this case there was quite a bit of give along the grain of the piece and very little in the cross grain.  This meant that I needed to put the pattern pieces on the cross grain to get the stretch going around my body.  (this always feels a bit odd)

I'd like to say that I cut these out and serged 'em up and walked out the door with not a single glitch, but Flo and I haven't gotten to that point in our relationship yet.  (or maybe I just can't imagine making a pair of pants without trimming and restitching the crotch curve 7 times!)  These are as close to 'one and done' as I have ever accomplished.  I timed myself and it was an hour and a half from flat folded fabric to pants (sans hems).  And that included just one small crotch curve tweak.  It is very difficult to adjust for the give in any particular fabric, so I chalk it up to that! 

It turns out that making a pair of black pants is much easier than photographing a pair of black pants.  The black and white versions are marginally better...
They are still sans hem.  I haven't decided what length to make them.  Having grown up in the era of being teased for having 'highwater' pants (given my height and leg length, I really had no choice!) it is still really hard to make pants too short on purpose.  I know it is fashionable, but....still thinking on it.


My pick for favorite pants pattern ever...I'm going with the Flo...Style Arc's Flat Bottom Flo.

Check out Rhonda's pick HERE
We'll be back next week with the next installment of "Getting to the Bottom Line!"


11.16.2018

Coat Season

I am really excited to share my progress with the Merchant and Mills patterns and oiled canvas....BUT....it will have to wait!


Santa (nudge nudge wink wink) can't give away any secrets just yet!

Suffice it to say that I will not need to do much weight training while I am working on these coats!!!  It is heavy duty stuff.  I work up a sweat and I don't even have my iron on!  (no ironing on oiled fabric!)

I was rolling right along and ready to dive into coat number two over the weekend, but...I went through my entire supply of heavy duty jeans needles and had to stop!  However, my sewing mojo was still cranking away.  Not wanting to lose that momentum I pulled out another project that has been hanging around for awhile.

I figured since I was in coat mode...
I have been looking for a pattern/style to go with a heavy coat weight wool jersey.  It is fairly dense stuff and I wanted to do something that I wouldn't have to put a lining in because I like the heavy sweater feel of the fabric.  The Casey Coat from Style Arc looked like just the ticket.  It is an unlined, cocoon shaped coat, and has some nice style lines.


I knew the dropped shoulder seam would need some changing to make it work for my broad shoulders.  It took some head scratching to get it figured out, but I got something that I like.  
The front of the coat has a facing and separating zipper.  There was no way my heavy knit was going to work for facings.  I found a lighter wool jersey that looked great and had the right weight to hold up to the coat weight fabric, but not add so much bulk.


I also decided that a half lining in the back would make it easier to get the coat on and off, and would help stabilize the neckline and armholes.  (My simple unlined sweater coat was getting a bit more involved!)

Not having the coat totally lined meant the finish on the seams was going to show.  I started sampling...

A simple flat felled seam looked rather blah...so I decided to incorporate some of the lighter weight jersey to add a bit of pizazz to the seams....

Once I had a seam finish that I liked I had to rethink the whole in-seam pocket thing...

Soooo...this was supposed to be a quick diversion until I could get to the store for more jeans needles!  Oh well, good thing I'm retired!


The whole thing took me several days, but it turned out really well.  The fit is great.  My shoulder engineering was just what I needed.  The back lining was also just enough to ease the coat on and off without hanging up on my clothes, and it did provided a little break from my oiled canvas workouts!

Oh...and somewhere in the midst of it all, I did get to the fabric store and load up on heavy duty jeans needles!